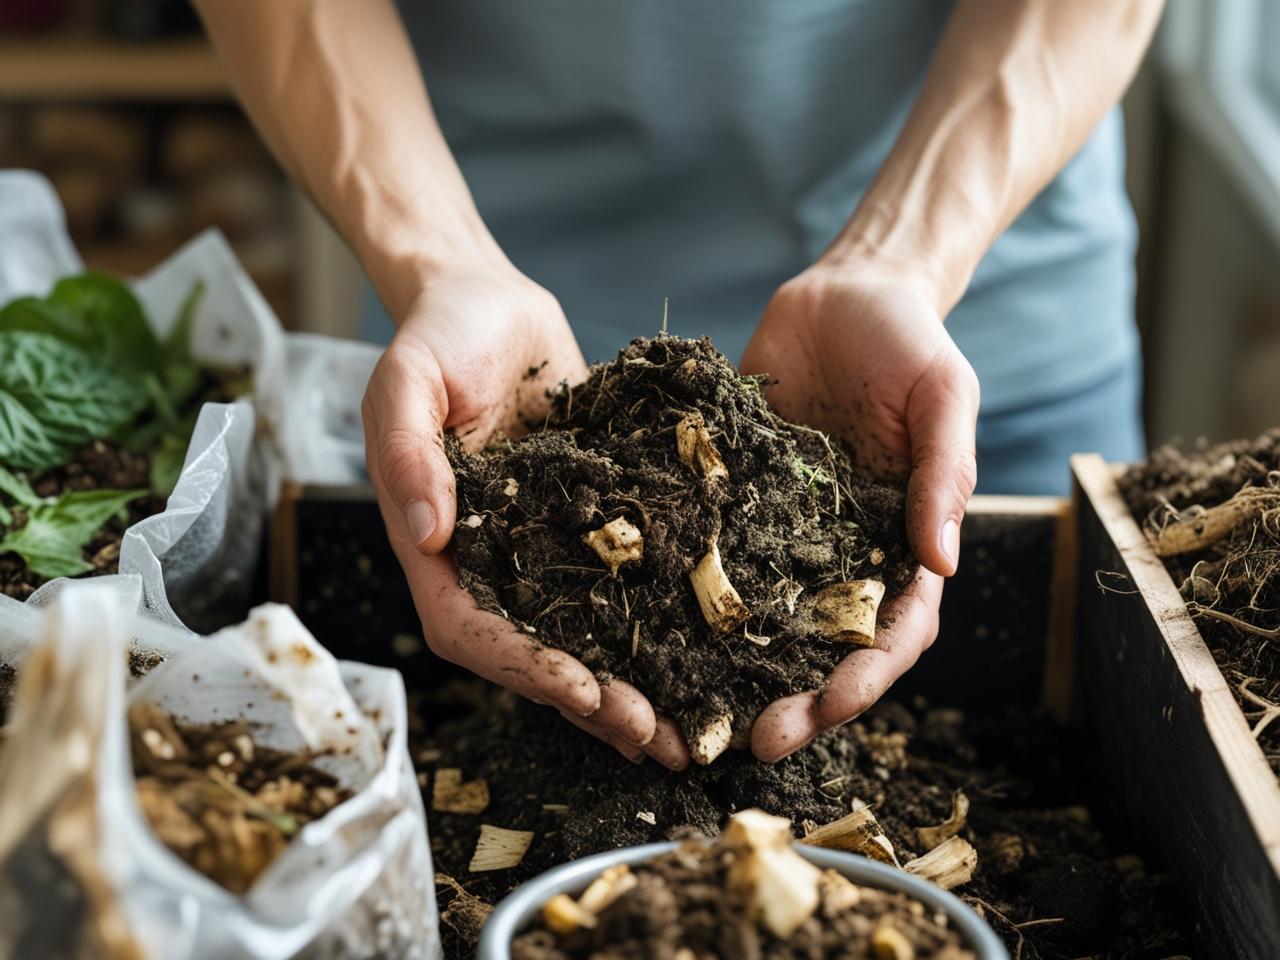
Composting turns kitchen scraps and yard waste into nutrient-rich soil that improves plant health, reduces landfill contributions, and helps the environment. Whether you have a backyard, a balcony, or just a small corner, composting is simpler than it seems—and deeply rewarding. This guide covers everything you need to know, from choosing the right bin to troubleshooting your compost pile.
Why Compost?
Making compost has many benefits:
- Nutrition for plants: Compost is packed with organic matter that boosts soil structure, moisture retention, and nutrient availability.
- Waste reduction: Composting reduces landfill waste—food scraps and yard debris decompose naturally instead of generating methane.
- Cost savings: Homemade compost can replace store-bought soil amendments and fertilizers.
- Eco-friendly practice: It supports ecological cycles and encourages sustainable habits.
Getting Started: Choosing a Compost System
First, select the right compost setup for your space and needs:
- Outdoor tumblers are sealed bins that rotate for aeration. They compost faster—ideal for backyards with moderate waste.
- Stationary backyard bins (wood or plastic) provide more volume but require occasional turning with a pitchfork.
- Compost piles on bare soil are low-cost and suitable for large waste amounts but require more management.
- Countertop bins with charcoal filters collect scraps discreetly before moving them outdoors.
- Vermicompost bins are small, indoor-friendly systems using red worms to process kitchen scraps into rich, usable compost.
Size your system based on waste production: a family of four might need a 50–100 L tumbler, while small-scale composters can start with a 20 L container.
What You Can and Can’t Compost
Balance materials to promote healthy decomposition:
Greens (Nitrogen-rich)
- Fruit and veggie peels, coffee grounds, tea bags (no plastic)
- Fresh grass clippings and green garden waste
- Manure from herbivores (rabbit, horse, goat)
Browns (Carbon-rich)
- Dry leaves, straw, shredded paper, cardboard
- Wood chips and sawdust from untreated wood
- Pine needles and dried garden debris
Avoid these
- Meat, bones, dairy, oily or cooked foods (attract pests)
- Pet waste from carnivores
- Diseased or invasive weeds, treated wood
- Glossy paper, synthetic materials, plastics
A general rule is 2–3 parts brown to 1 part green to balance carbon and nitrogen.
Layering Your Compost
Building compost in layers helps with decomposition:
- Start with coarse browns (twigs, wood chips) at the bottom for airflow.
- Add a layer of greens (food scraps, grass clippings).
- Follow with more browns (dry leaves, shredded paper).
- Lightly moisten each layer—ideal moisture is like a damp sponge.
- Continue alternating layers until your bin is full.
Top with a brown cover to minimize odor and keep pests out.
Managing Your Compost
Aeration
Turn or rotate the compost every 1–2 weeks to introduce oxygen. Oxygen encourages beneficial microbes for fast, odor-free decomposition. Tumblers handle this via rotation; static bins or piles need a pitchfork or shovel.
Moisture
Keep the compost damp but not waterlogged. Add water during dry weather or cover with a tarp during heavy rain. Too little moisture stalls activity—moisten with a watering can; mud or an ammonia smell means it’s too wet—add browns and turn more.
Temperature
Ideal compost temperature is 55–65 °C (131–149 °F) in a hot pile. Backyard systems may run cooler (30–49 °C). You won’t need to monitor temperatures, but warm piles decompose faster. Cold composting simply takes longer.
Time
- Hot composting processes material in 2–3 months.
- Cold composting may take 6–12 months.
- Vermicomposting generally takes 3–6 months.
Finishing and Harvesting Compost
Your compost is ready when it looks and smells like rich, dark soil and no food scraps are recognizable. Typically, this takes:
- 2–4 months for hot composters
- 6–12 months for passive piles
- 3–6 months for vermicompost systems
Sift larger pieces out (you can return these to the bin) and store finished compost for use.
Using Your Homemade Compost
Compost enhances gardens in multiple ways:
- Media mix: Use it in seed-starting trays or potting soil—25% compost works well.
- Side dress: Add 1–2 inches around existing plants in spring or fall and gently mix into the topsoil.
- Top mulch: Spread ½–1 inch on vegetable beds to retain moisture, suppress weeds, and feed soil.
- Lawn feed: Spread a thin dusting (¼ inch) across lawns in spring for natural nourishment.
Common Issues & Solutions
- Bad smell: Usually due to poor aeration or imbalance. Turn pile and add more browns.
- Pests: Meat scraps attract rodents. Avoid those, bury food scraps, or seal bins securely.
- Unpleasant, slimy mess: Too much greens or water. Add dry browns and aerate.
- Piles heating up then cooling: Normal. High heat early is typical; refresh layering to restart heating.
- No hot phase in tumblers: Often because the container isn’t full enough. Add more material to raise mass and temperature.
Tips for Success
- Chop materials: Smaller scrap pieces compost faster.
- Keep a scrap caddy: Store kitchen waste in a small bin to collect between outdoor transfers.
- Collect yard waste with neighbors: If yard debris is limited at home, club together to get enough brown material.
- Make compost tea: Soak mature compost in water for 24 hours and use the liquid to water plants for microbial benefit.
Final Thoughts
Composting is a simple, transformative way to turn waste into gardening treasure. With a little planning—choosing the right bin, balancing greens and browns, and occasionally turning—you’ll produce nutrient-dense soil that benefits plants and reduces waste. Whether you’re simmering scraps in a tumbler or building a worm bin under your kitchen sink, composting supports a greener, healthier lifestyle. Ready to get started? Your garden—and planet—will thank you.

