
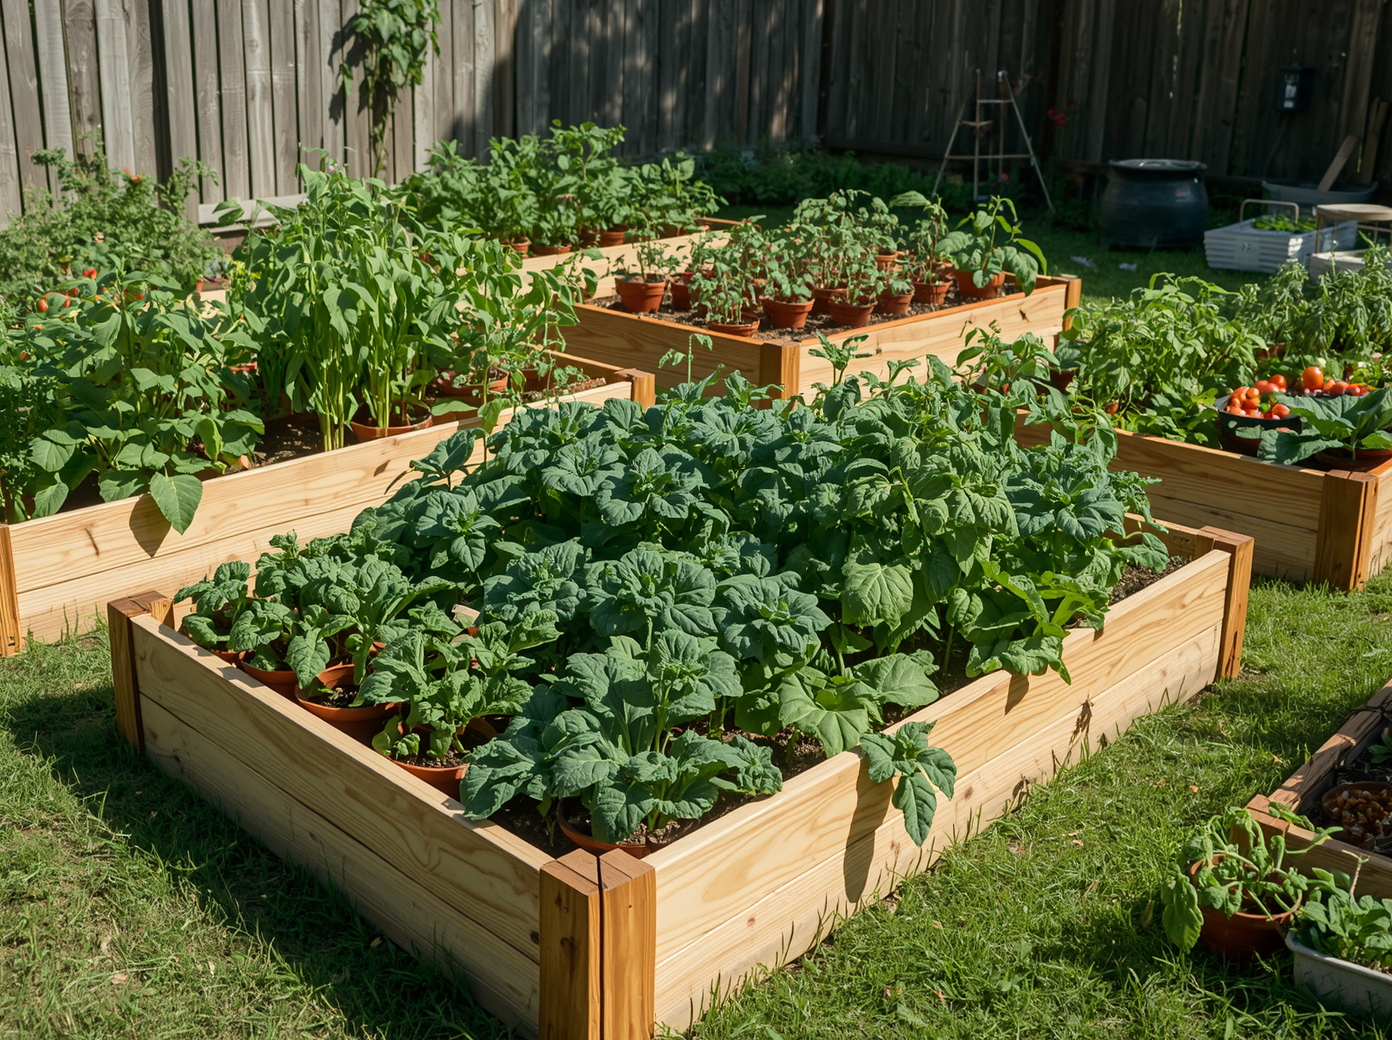
Growing your own vegetables is one of the most rewarding things you can do with outdoor space. There is a profound satisfaction in eating food you have grown yourself, from seed to plate, and the difference in flavor between a supermarket vegetable and one picked moments before cooking is startling. Homegrown food is also dramatically more nutritious, more environmentally responsible, and ultimately more economical than purchased produce.
The beginner’s biggest obstacle is not lack of skill but lack of a clear starting framework. This guide provides exactly that: a step-by-step system for planning, preparing, planting, and harvesting your first vegetable garden, regardless of your experience level or the size of your available space.
Step 1: Choosing Your Garden Location
The single most important factor in vegetable garden success is sunlight. Most vegetables need a minimum of six hours of direct sun per day, with eight or more hours being ideal. Before committing to a location, observe your outdoor space throughout a full day, noting where sun falls from morning to evening.
Key Site Requirements:
- Sunlight: six to eight hours of direct sun daily — non-negotiable for most vegetables
- Access to water: within reach of a hose or water source; daily watering in summer is often necessary
- Level ground or gentle slope: prevents soil erosion and uneven watering
- Away from large trees: tree roots compete aggressively for water and nutrients; overhanging branches create shade
- Near the kitchen: proximity encourages daily attention and makes harvesting convenient
Step 2: Deciding on Your Garden Format
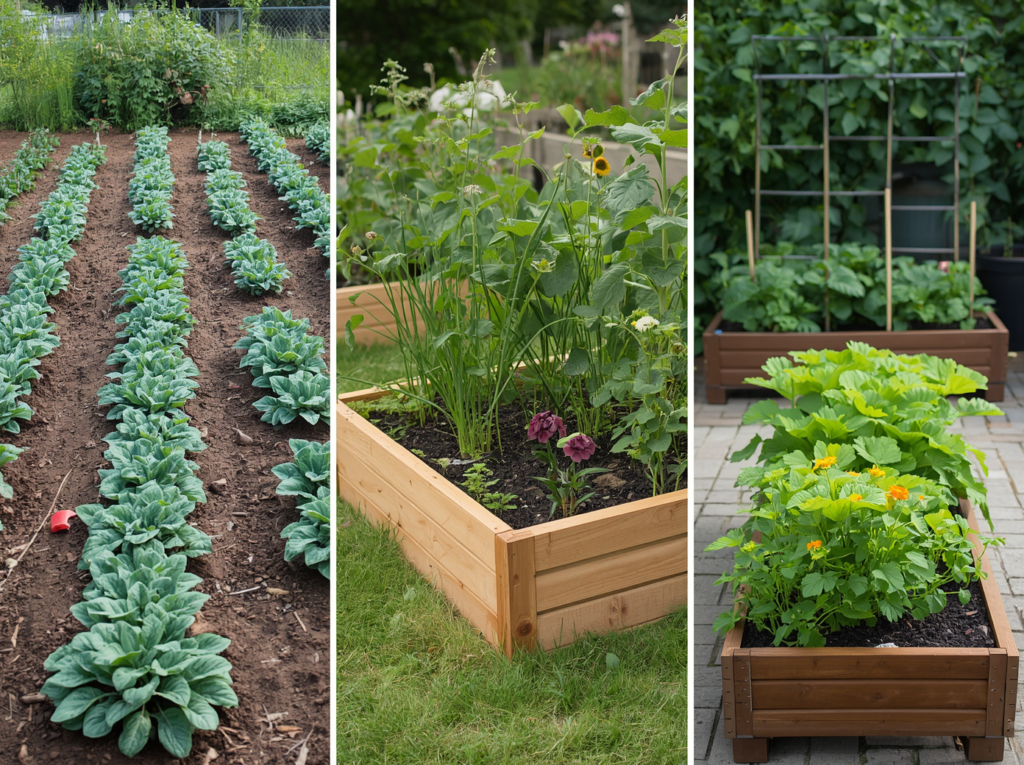
In-Ground Beds
The traditional format: prepare existing soil by digging, amending with compost, and creating rows or beds directly in the ground. Inexpensive but requires better-quality native soil and more soil preparation work. Best for larger spaces with decent existing soil.
Raised Beds
Framed beds filled with premium growing mix are widely considered the most productive format for beginners. Complete soil control, better drainage, no compaction, fewer weeds, and warmer soil in spring. Ideal for gardens of any size and the best investment a first-time vegetable gardener can make.
Container Gardens
For those with no garden space at all, containers on patios, balconies, and decks can produce surprising quantities of food. Cherry tomatoes, herbs, lettuce, radishes, chillies, and dwarf beans are all well-suited to container growing.
Step 3: Preparing Your Soil
Vegetables are hungry plants that demand fertile, well-structured, moisture-retentive yet well-draining soil. Invest time and materials in soil preparation and the plants will do much of the rest themselves.
The No-Dig Method (Recommended for Beginners):
The no-dig method requires no digging whatsoever. Lay cardboard directly over grass or weeds, overlapping the edges to prevent gaps. Cover with a thick layer of compost or well-rotted manure, six to eight inches deep. Plant directly into the compost layer. The cardboard suppresses weeds and decomposes over the season, and earthworms do the soil cultivation work for you.
Traditional Digging Method:
- Remove any existing vegetation from the area
- Dig to a spade’s depth (approximately twelve inches), turning the soil
- Add four to six inches of compost or well-rotted manure and dig in thoroughly
- Rake level and allow to settle for a week before planting
Step 4: Choosing What to Grow
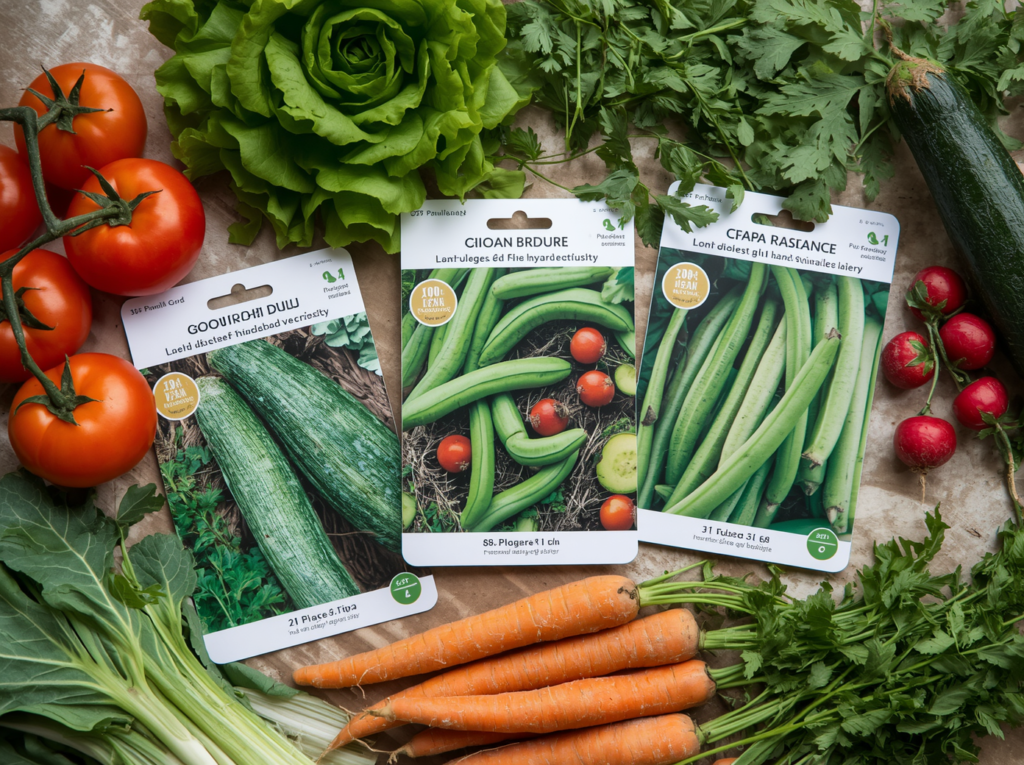
Best Vegetables for Beginners:
- Courgette or Zucchini: almost guaranteed success; one plant produces abundantly all summer
- Salad leaves (cut-and-come-again varieties): fastest return; harvest in four to six weeks; continuous supply
- Radishes: ready in three to four weeks; perfect for impatient beginner gardeners
- Beans (French and runner): grow quickly; incredibly productive; very rewarding to harvest
- Cherry tomatoes: easier than large tomatoes; extremely productive; superb fresh flavor
- Herbs (basil, parsley, chives): fast-growing; highly useful in cooking; excellent return on investment
- Potatoes: easy; forgiving; hugely satisfying to harvest from beneath the soil
Vegetables to Avoid as a Beginner:
- Cauliflower: very demanding; prone to failure for many reasons
- Celery: needs very long season; highly sensitive to temperature fluctuations
- Watermelon: needs very long, consistently hot season and large space
Step 5: Understanding When to Plant
Last Frost Date: Your Most Important Date
The last expected frost date in your area determines when tender vegetables can safely go outside. Frost kills tender plants including tomatoes, peppers, courgettes, and beans. Your local garden center, agricultural extension service, or a quick online search for your area’s last frost date will provide this crucial information.
Direct Sow vs. Starting Indoors:
Some vegetables grow best sown directly where they will grow (carrots, beets, radishes, beans, peas, and salad leaves) because they dislike root disturbance. Others benefit from being started indoors six to eight weeks before the last frost date (tomatoes, peppers, courgettes, and aubergines) to give them a head start on the growing season.
Succession Planting:
Plant small amounts of fast-growing crops every two to three weeks rather than one large batch. This produces a continuous, manageable harvest of salad leaves, radishes, and herbs rather than a glut that exceeds what you can eat at once.
Step 6: Watering and Feeding
Watering:
- Water deeply and less frequently rather than shallowly every day; deep watering encourages deeper roots
- Water at soil level, not overhead; wet foliage promotes fungal diseases
- Water in the morning; evaporation is lower and foliage dries before evening
- Mulch the soil surface with straw or compost to retain moisture and suppress weeds
Feeding:
Well-prepared soil provides adequate nutrition for the first part of the season, but hungry crops like tomatoes and courgettes will exhaust soil nutrients by midsummer. Feed with a balanced liquid fertilizer fortnightly once plants are established. Switch to a high-potassium feed such as liquid tomato food once fruiting crops begin to flower.
Step 7: Pest and Disease Management
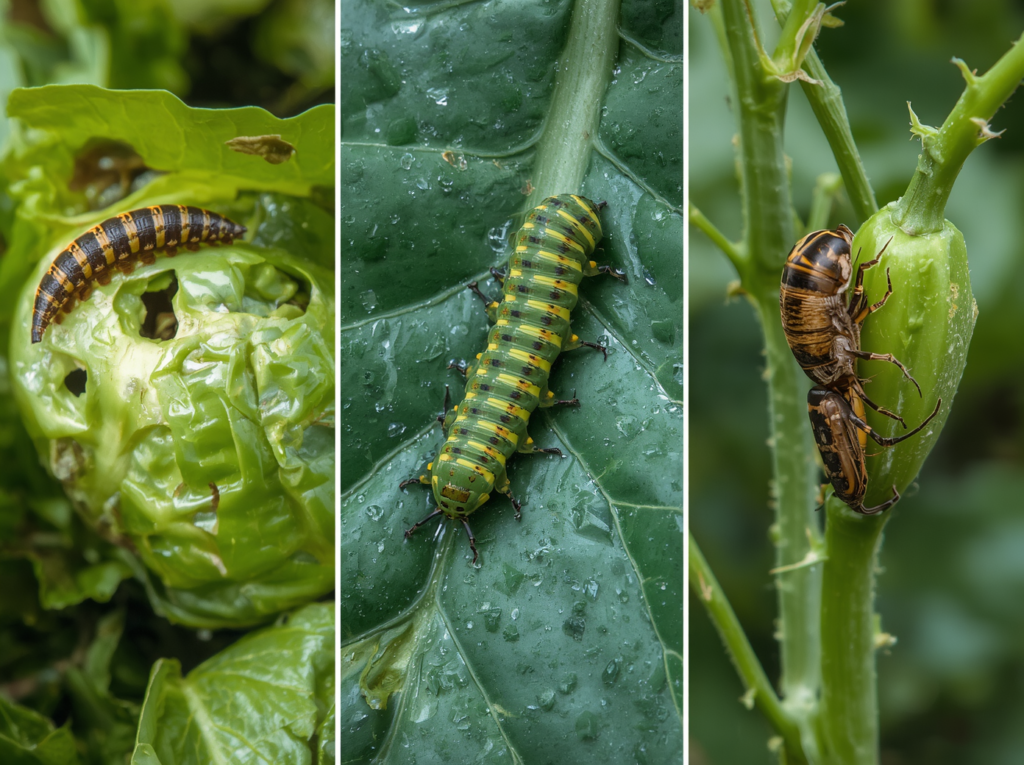
Most Common Vegetable Garden Pests:
- Slugs and snails: the number one pest; most damaging to seedlings and lettuce; control with iron phosphate pellets, copper barriers, or hand-picking at night
- Cabbage white butterfly caterpillars: strip brassica leaves completely; prevent with fine mesh netting over the plants
- Aphids (blackfly on beans, greenfly on many crops): control with insecticidal soap spray or encourage natural predators like ladybirds
Disease Prevention:
- Crop rotation: never grow the same plant family in the same spot two years running
- Good air circulation: space plants at recommended distances to allow airflow between them
- Healthy soil: well-fed, well-structured soil grows plants with natural disease resistance
Step 8: Harvesting
Most vegetables improve with regular, timely harvesting. Courgettes harvested young and small taste better and encourage the plant to produce more fruit. Salad leaves cut frequently with scissors regrow quickly for repeat harvests. French beans become tough and stringy if left too long on the plant. Learning to harvest at the right moment is a skill that develops with each growing season.
Keep a simple garden journal noting what you grew, what worked, what failed, and what you want to change next year. Even a few notes per season will dramatically improve your second year’s garden compared to your first.