
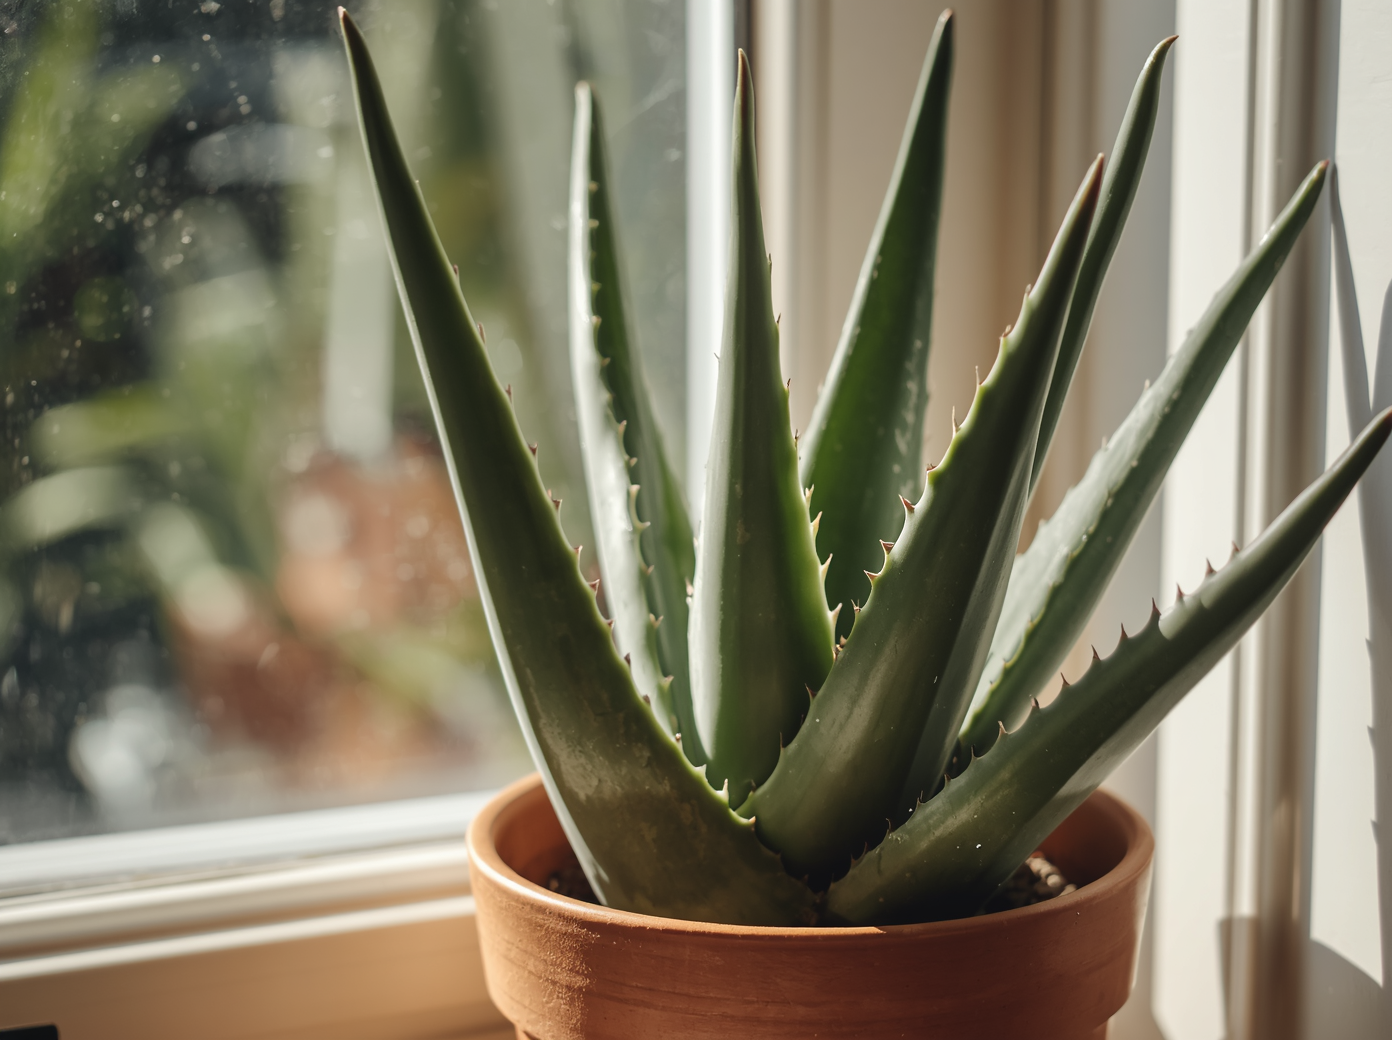
Aloe vera is one of the most useful plants you can grow at home. Beyond its attractive, sculptural appearance, it functions as a living first-aid kit: the thick, fleshy leaves contain a gel rich in compounds shown to accelerate wound healing, soothe burns, reduce inflammation, and moisturize skin. It is also remarkably easy to grow, drought-tolerant, and produces numerous offsets that can be propagated into new plants.
There is a reason aloe vera has been cultivated by humans for over 6,000 years across Egypt, China, India, and the Mediterranean: it genuinely works, it grows easily in diverse conditions, and it rewards minimal care with decades of healthy growth.
Understanding Aloe Vera: Origins and Habitat
Aloe vera (Aloe barbadensis miller) is native to the Arabian Peninsula and grows naturally in arid, rocky environments with intense sun, very little rainfall, and fast-draining soil. It has been naturalized across the Mediterranean, Africa, and subtropical regions worldwide. Like all succulents, it stores water in its thick leaves, making it extremely drought-tolerant and sensitive to overwatering.
The plant grows from a central rosette, with new leaves emerging from the center as outer leaves mature and expand. In the wild, mature plants produce tall flower spikes with tubular yellow, orange, or red flowers that are rich in nectar. Indoor plants can flower when given adequate light and a cool winter rest period.
Light and Temperature Requirements
Light
Aloe vera is a sun-loving plant that needs bright light to thrive. A south or west-facing windowsill providing six or more hours of light daily is ideal. In insufficient light, the leaves lose their firm, upright form and begin to lean toward the light source, eventually becoming pale and weak.
Aloe tolerates some direct sun, particularly morning sun, but prolonged intense afternoon sun through glass can cause the leaves to take on a reddish or orange tint (actually a stress response, not sun damage) or in extreme cases, develop white sunscald patches.
Temperature
Aloe vera thrives between 55 and 80 degrees Fahrenheit (13 to 27 degrees Celsius). It does not tolerate frost and should be brought indoors before temperatures drop below 40 degrees Fahrenheit. It can be moved outdoors in summer in warm climates for maximum sun exposure.
Watering Aloe Vera
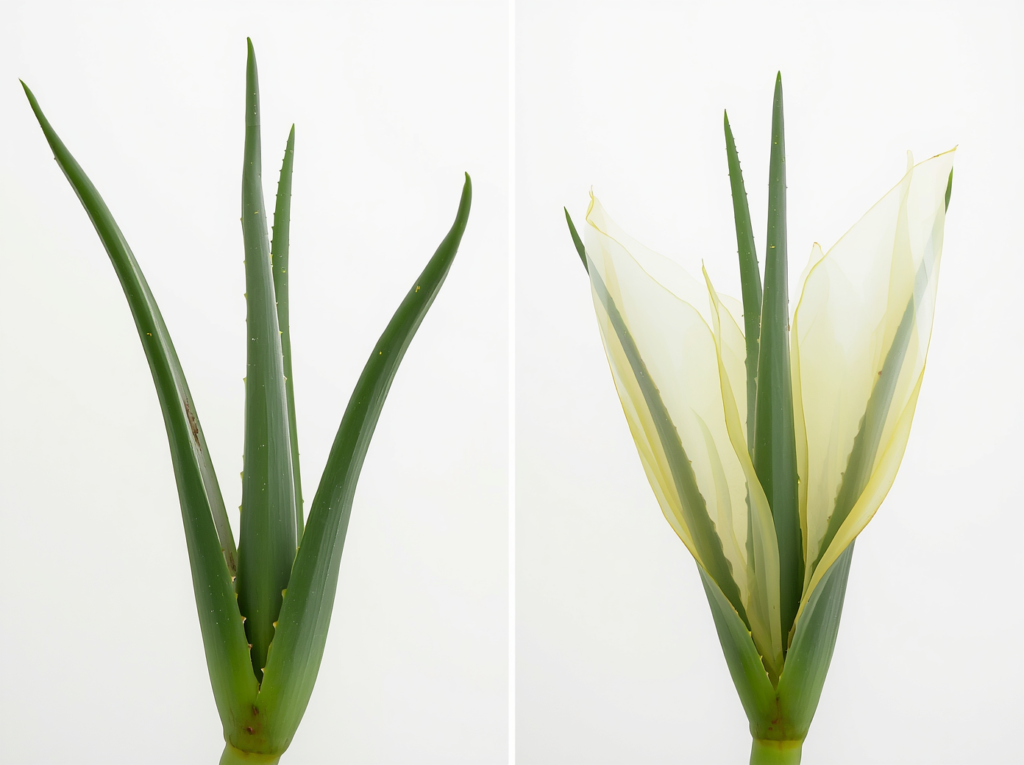
Watering is the most important and most commonly mismanaged aspect of aloe vera care. Overwatering is the primary cause of aloe death. The deep, fleshy leaves store significant quantities of water, enabling the plant to survive extended drought periods.
Correct Watering Schedule:
- Spring and summer: water every two to three weeks, when the top two inches of soil are completely dry
- Autumn: reduce to every three weeks as growth slows
- Winter: water once a month or even less; the plant is semi-dormant and uses very little water
How to Water Correctly:
- Water deeply until water flows from the drainage hole
- Allow to drain completely and empty the saucer
- Never allow the pot to sit in water, which leads to root rot rapidly
- Use room-temperature water; cold water can stress the roots
Signs of Overwatering:
- Leaves become soft, translucent, and begin to collapse outward from the center
- Base of the plant darkens and may smell unpleasant
- Roots appear brown and mushy when the plant is removed from the pot
Signs of Underwatering:
- Leaves become thin, slightly wrinkled, and curl inward
- Tips of leaves turn brown and dry
- Leaf color shifts from healthy grey-green to dull, pale green
Soil and Pot Requirements
Soil
Use a dedicated cactus and succulent potting mix, or improve standard potting mix by adding 50 percent coarse perlite or grit. Aloe vera roots cannot tolerate waterlogged soil. The mix should drain within seconds of watering.
Pot
Terracotta is the ideal pot material for aloe vera because its porous walls allow moisture to evaporate through the sides, significantly reducing overwatering risk. Choose a pot that is only slightly larger than the root ball; oversized pots hold excess moisture.
Repotting Aloe Vera
Repot every two to three years or when the plant becomes root-bound or the offset pups crowd the pot. Spring is the best time. Move up one pot size only.
Repotting Process:
- Remove the plant from its pot and gently shake off old soil
- Separate any pups (offset plants) from the mother plant at the connecting stem
- Allow the roots to air-dry for one to two hours if any were damaged
- Repot in fresh succulent mix in a clean terracotta pot
- Do not water for one week after repotting to allow any root damage to heal
Harvesting Aloe Gel: How to Do It Correctly
Which Leaves to Harvest
Always harvest the outermost, lowest leaves of the rosette, which are the most mature. Never cut inner leaves or the growing tip; this damages the plant’s ability to produce new growth. Choose leaves that are thick, healthy, and at least four to six inches long.
How to Harvest the Gel:
- Cut a leaf cleanly at the base with a sharp, clean knife
- Stand the leaf upright in a cup for five to ten minutes to allow the yellow latex (aloin) to drain out; aloin can be irritating to skin and is not part of the beneficial gel
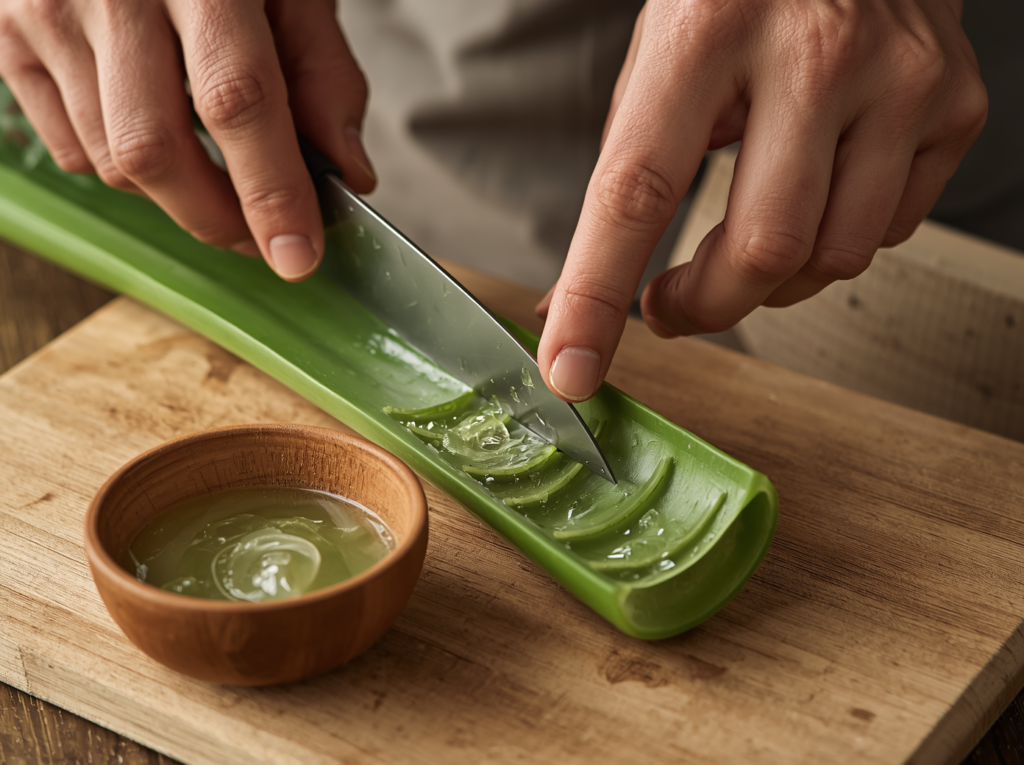
- Wash the leaf and slice off the serrated edges
- Slice the leaf lengthwise and scoop out the clear inner gel with a spoon
- Use immediately or store in the refrigerator in a sealed container for up to one week
Uses for Fresh Aloe Gel:
- Sunburn relief: apply cool gel directly to sunburned skin; the cooling effect is immediate
- Minor burns and scalds: rinse the burn with cool water first, then apply aloe gel
- Moisturizer: apply a thin layer to clean skin as a lightweight, non-comedogenic moisturizer
- Hair conditioner: apply to hair as a leave-in conditioner or scalp treatment
- Wound healing: apply a thin layer to minor cuts, abrasions, and skin irritations
Propagating Aloe Vera from Pups
Aloe vera naturally produces offsets called pups around the base of the mother plant. These are the easiest and most reliable way to propagate new plants and are essentially free plants that arise naturally.
How to Separate Pups:
- Wait until pups are at least three to four inches tall and have their own visible root system
- Remove the mother plant from its pot and gently separate pups at the connecting stem with a clean knife
- Allow the separated pup’s cut surface to callus for one to two days in a dry, shaded spot
- Pot in dry succulent mix and do not water for five to seven days to encourage roots to seek moisture
- Begin watering sparingly after one week; treat as an established plant after one month