
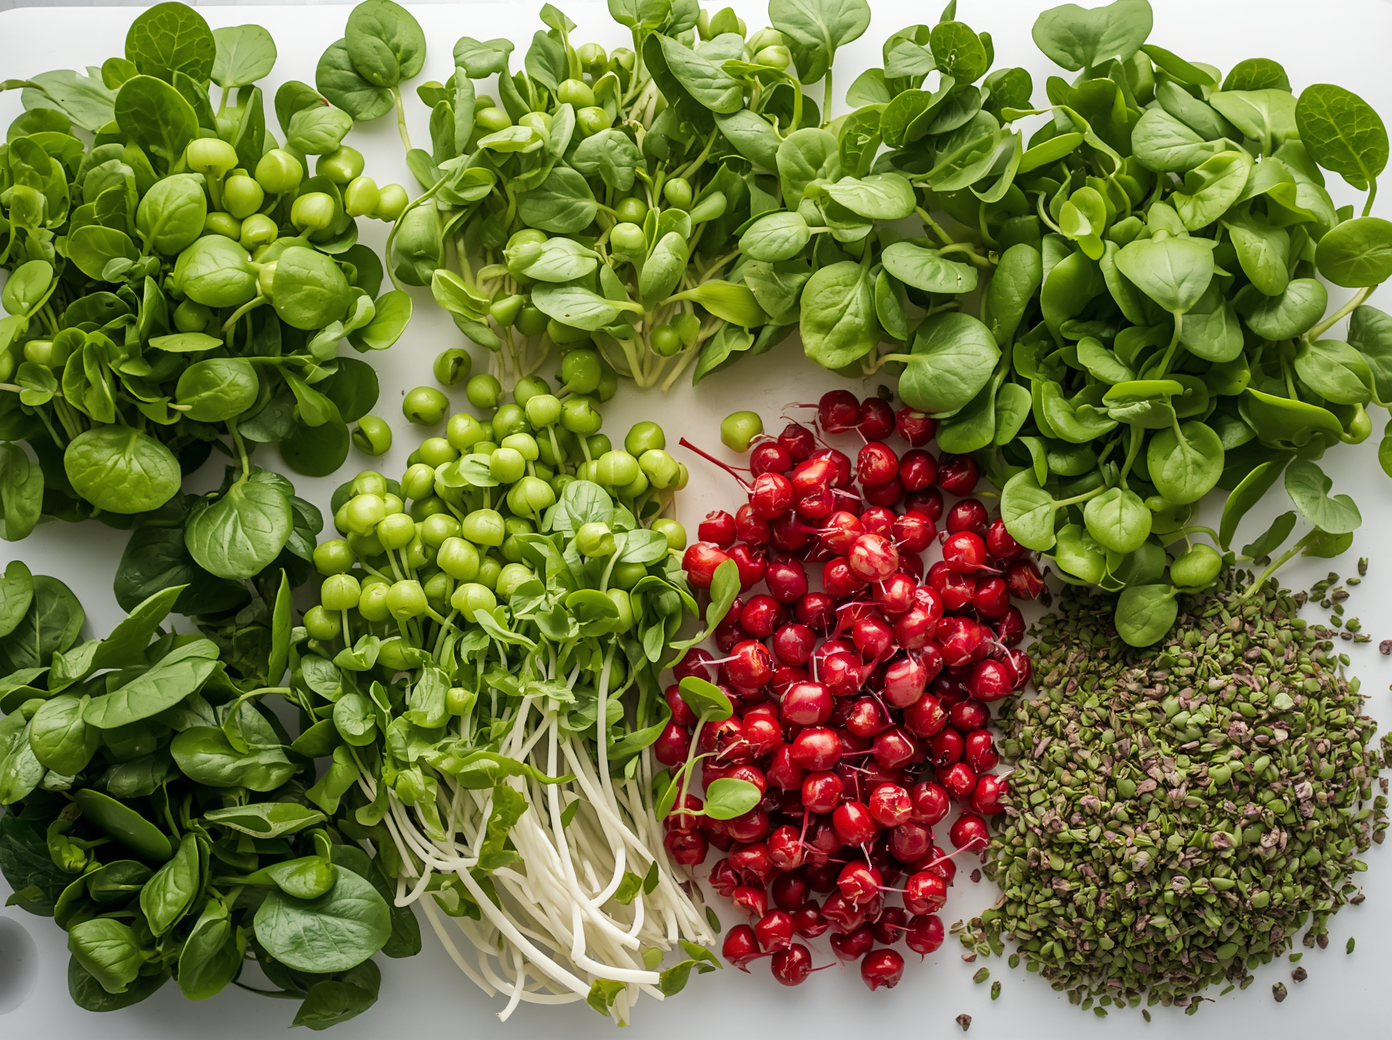
Microgreens are the fastest, most productive, and most nutritionally dense food you can grow at home. From seed to harvest in seven to fourteen days, they require no outdoor space, minimal equipment, and almost no experience. Research has consistently shown that microgreens contain dramatically higher concentrations of vitamins, minerals, and antioxidants than the same plants grown to maturity. Radish microgreens, for example, contain up to forty times more vitamins than mature radishes.
What Are Microgreens?
Microgreens are vegetable, herb, and flower seedlings harvested after the first true leaves have emerged but before the plant reaches full size, typically seven to twenty-one days after germination. They differ from sprouts in that they are grown in a growing medium, harvested by cutting at soil level, and eaten only above the growing medium surface. This distinction also makes them safer than sprouts, which can harbor bacterial contamination.
Equipment You Need
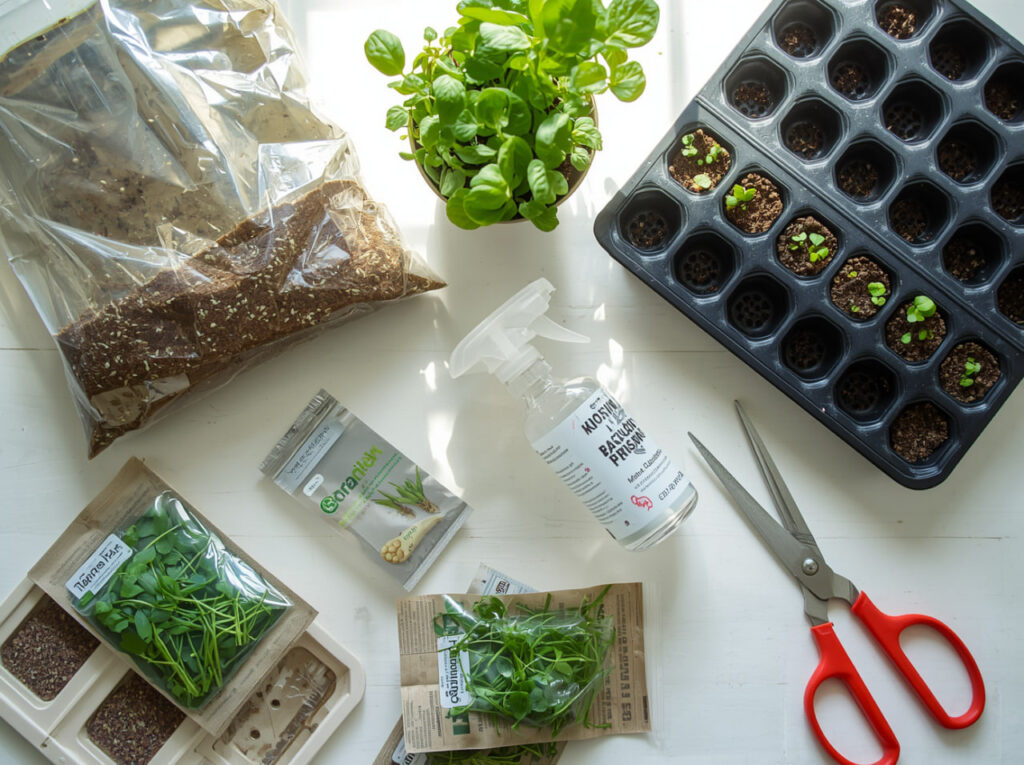
- Trays: standard 1020 seedling trays work perfectly; one tray with holes for growing, one solid underneath to catch drainage
- Growing medium: coconut coir is ideal — lightweight, pH-neutral, excellent moisture retention
- Seeds: dedicated microgreen seed mixes or individual variety seed packets from reputable suppliers
- Light: a sunny windowsill (south or east-facing) or a simple grow light for faster, uniform growth
- Scissors: clean scissors for harvesting; a spray bottle for misting during germination
The Best Seeds for Microgreens
Easiest and Fastest (7-10 Days to Harvest):
- Radish: intense peppery flavor; vivid red stems; incredibly fast; the perfect first microgreen
- Broccoli: mild, slightly bitter; very nutritious with the highest sulforaphane content of any food
- Mustard: spicy, peppery; fast; adds excellent bite to salads and sandwiches
Medium Speed (10-14 Days):
- Sunflower: nutty, crunchy; large seeds produce substantial satisfying microgreens; soak seeds for six hours before planting
- Pea shoots: sweet, fresh pea flavor; one of the most popular and flavorful microgreens available
- Amaranth: beautiful magenta color; mild, slightly earthy flavor; visually spectacular in salads
- Beet and chard: deep red stems; earthy flavor; beautiful in presentation and photography
Slower Growing (14-21 Days):
- Basil: intensely fragrant; requires higher temperatures for germination than most microgreens
- Cilantro: takes longer but produces excellent flavor for Mexican and Asian dishes
- Fennel: distinctive anise flavor; feathery texture; excellent for seafood pairing
Step-by-Step Microgreen Growing Guide
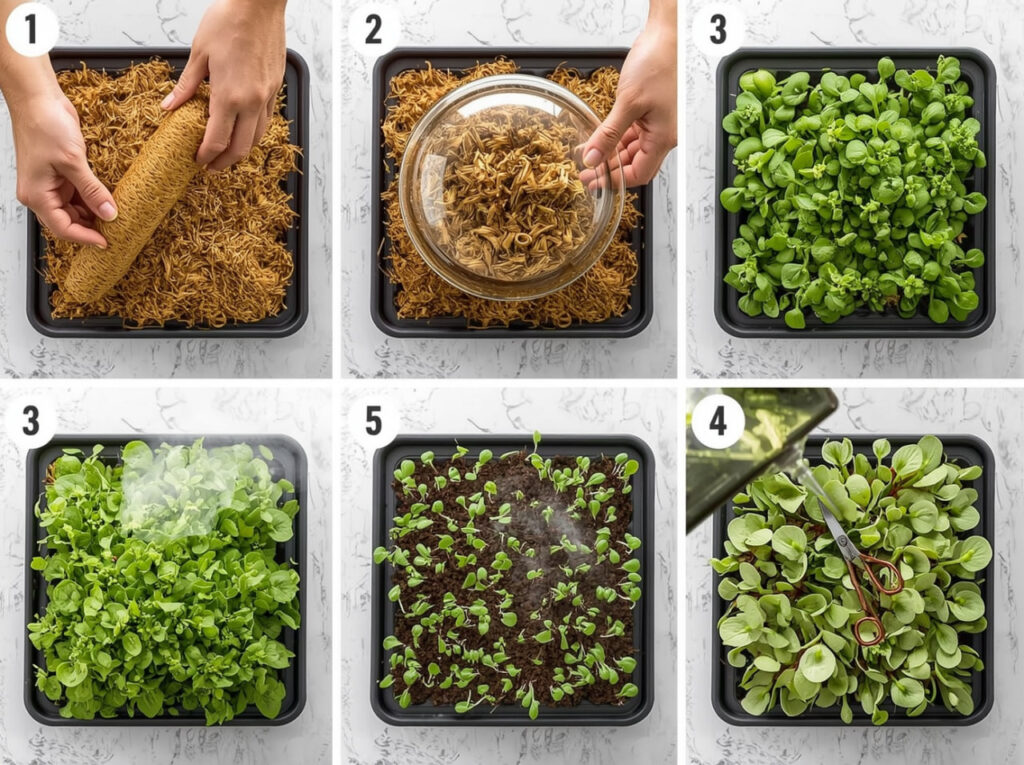
Step 1: Prepare the Tray
Fill the growing tray with one to two inches of moistened growing medium. Coconut coir should be damp but not dripping. Press lightly to create a firm, even surface for the seeds.
Step 2: Sow Seeds
Scatter seeds densely but evenly over the surface of the growing medium. For small seeds (broccoli, radish), aim for seeds touching but not heavily overlapping. For large seeds (sunflower, peas), place in a single layer, touching each other.
Step 3: Weigh Down and Blackout
Place a second solid tray directly on top of the seeds and add a weight such as another tray filled with water. This gentle pressure encourages even germination and helps seeds make good contact with the growing medium. Leave in complete darkness for two to three days.
Step 4: Remove Cover at Germination
Check daily. Once seeds have germinated and are pushing up against the covering tray, typically after two to three days, remove the weight and upper tray. Move immediately to bright light or under grow lights. Exposure to light triggers the production of chlorophyll and the development of the first leaves.
Step 5: Water During Growth
Water from below by adding water to the solid bottom tray rather than watering overhead. Bottom watering delivers moisture to the roots without wetting the leaves, which reduces the risk of damping off fungal disease. Keep the growing medium consistently moist but not saturated.
Step 6: Harvest
Harvest when the first true leaves are emerging, typically seven to fourteen days after sowing. Use clean scissors to cut just above the soil surface. Rinse lightly in cool water and dry on kitchen paper or in a salad spinner. Store harvested microgreens in the refrigerator in a container lined with paper towel; they keep for three to five days.
Succession Sowing for Continuous Harvest
The secret to having fresh microgreens available every day is succession sowing: starting a new tray every three to five days. With three to four trays in rotation at different growth stages, you always have microgreens ready to harvest. This system requires minimal additional effort and transforms microgreen growing from an occasional novelty into a genuine ongoing food source.
Troubleshooting Common Microgreen Problems
Mold on Soil Surface
A small amount of white fuzzy root hairs on seed hulls is normal and harmless. True mold is gray or black and has an unpleasant smell. Prevent by ensuring adequate air circulation, not overwatering, and harvesting before the growing medium stays too wet for extended periods.
Damping Off (Seedlings Collapsing)
A fungal condition causing seedlings to collapse at soil level. Prevent by using sterile growing medium, bottom watering only, ensuring good air circulation, and not overwatering.
Leggy, Pale Growth
Indicates insufficient light. Move to a brighter position or add a grow light. Extending the blackout period is not the solution; leggy growth indicates the seedlings need more light after germination, not more darkness.