
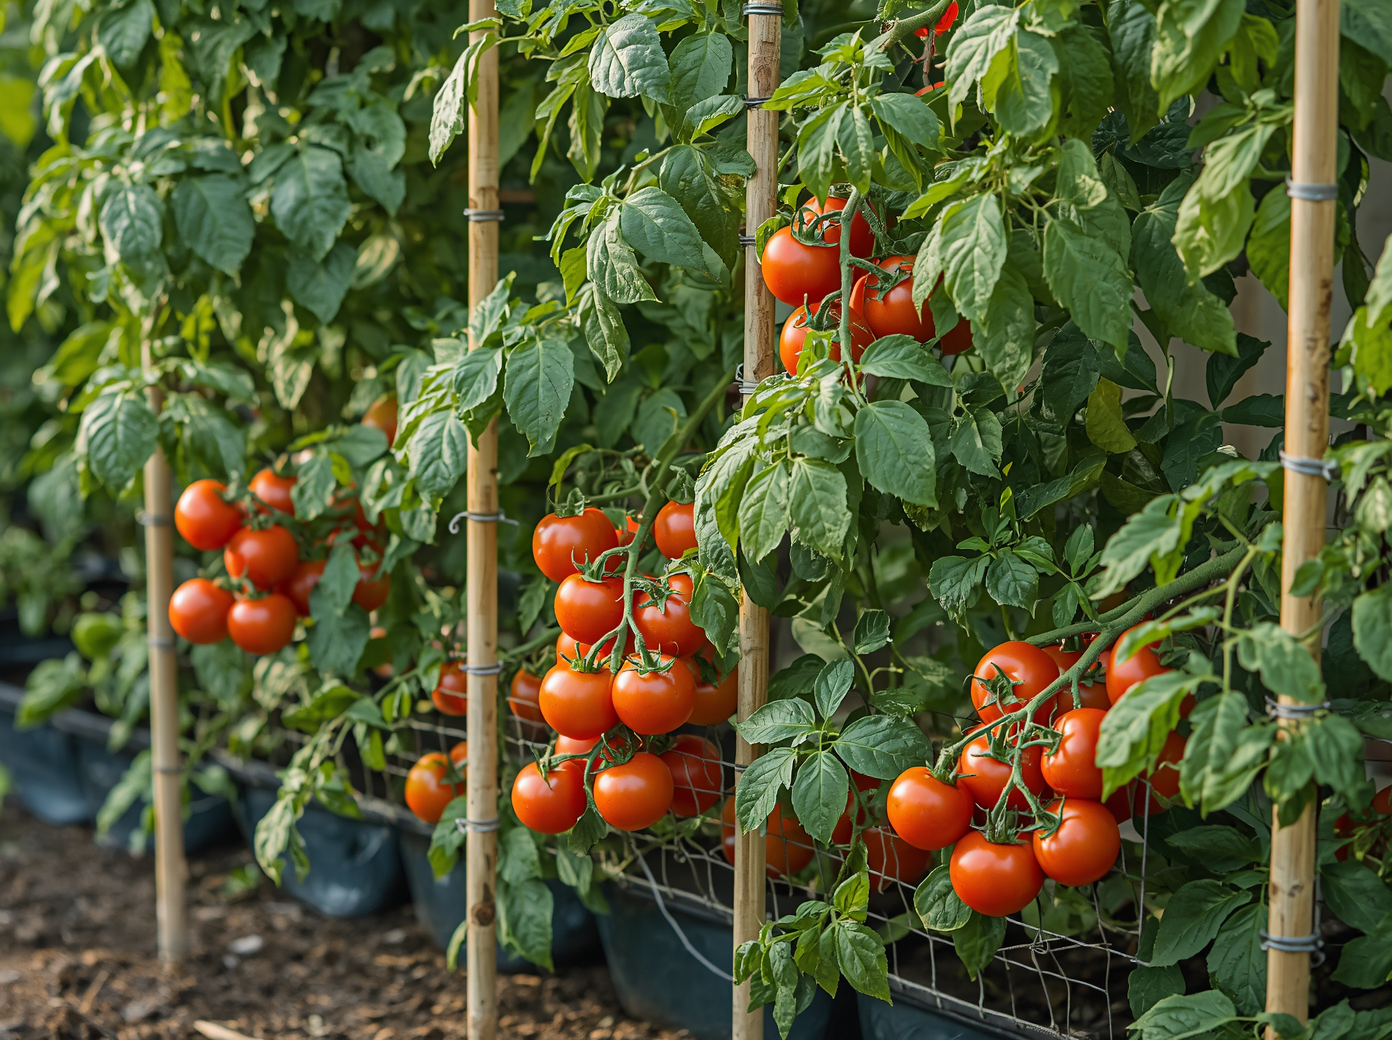
Tomatoes are the undisputed king of the home vegetable garden. No store-bought tomato, regardless of price, can compete with a sun-warmed, fully ripe tomato harvested from your own garden minutes before eating. Growing tomatoes gives you access to hundreds of varieties unavailable in supermarkets, from tiny sweet cherry tomatoes to massive heirloom beefsteaks in colors from deep purple to striped green.
Tomatoes require more attention than most vegetables, but the rewards in flavor, variety, and satisfaction are unmatched. This guide takes you from seed selection through harvest.
Choosing Your Tomato Varieties
Determinate vs. Indeterminate: The Most Important Distinction
Determinate or bush tomatoes grow to a fixed size, produce their fruit in a concentrated period of two to four weeks, then stop. They are excellent for preserving, canning, and smaller spaces. Indeterminate tomatoes keep growing and producing all season until frost kills them. They can reach six feet or more and need substantial staking or caging.
Best Varieties by Category:
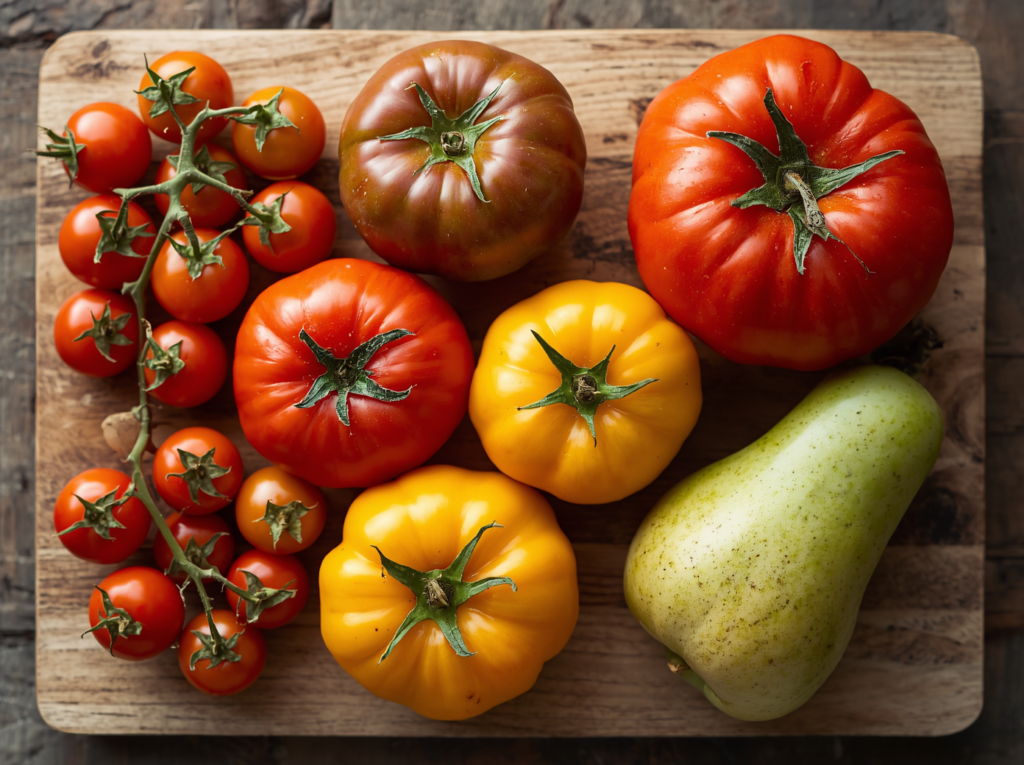
- Cherry tomatoes: Sweet Million, Sun Gold (orange, exceptional sweetness), Black Cherry — easiest to grow; most productive; great for containers
- Slicing tomatoes: Celebrity (disease-resistant), Early Girl (fast producer), Big Boy — classic sandwich tomatoes
- Heirloom varieties: Cherokee Purple, Brandywine, Green Zebra, Mortgage Lifter — complex flavors; beautiful colors; less disease-resistant
- Roma and Paste: San Marzano, Amish Paste, Opalka — meaty, low moisture; ideal for sauces
- Container varieties: Tumbling Tom, Patio, Tiny Tim, Bush Early Girl — compact; productive; excellent in pots
Starting Tomatoes from Seed
When to Start
Start seeds indoors six to eight weeks before your last expected frost date. In most temperate climates, this means starting in February or March for outdoor transplanting in April or May.
What You Need:
- Seed starting trays or small pots with two to three inch cells
- Seed starting mix, not regular potting soil which is too dense for germination
- Seeds from a reputable supplier
- Seedling heat mat since tomatoes germinate best at 70 to 80 degrees Fahrenheit
- Grow lights or a very bright south-facing window
Step-by-Step Seed Starting:
- Fill cells with moistened seed starting mix
- Plant two seeds per cell at one quarter inch deep
- Cover with clear plastic dome to maintain humidity
- Place on heat mat at 75 to 80 degrees Fahrenheit; seeds germinate in five to ten days
- Remove dome immediately upon germination and move under grow lights
- Thin to one seedling per cell once true leaves appear
- Bottom water to prevent damping off, a fungal disease that kills seedlings at soil level
The Critical Importance of Light:
Once germinated, tomato seedlings need 14 to 16 hours of strong light daily. A south-facing window is rarely sufficient and seedlings in insufficient light become leggy with tall, weak stems rapidly. Supplemental grow lights positioned two to four inches above seedlings are strongly recommended.
Transplanting and Hardening Off
Hardening Off: The Essential Step
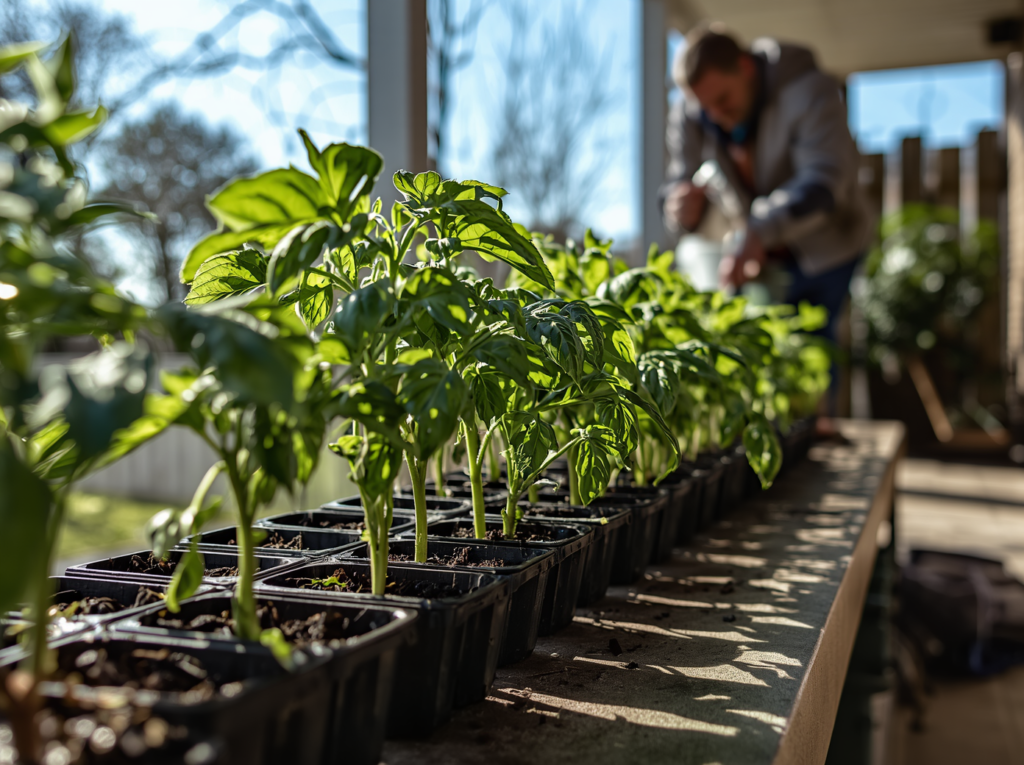
Indoor-grown seedlings must be gradually acclimated to outdoor conditions before transplanting, a process called hardening off. Without it, the sudden exposure to wind, temperature fluctuations, and intense outdoor sunlight causes transplant shock or sunscald.
- Week 1: Place seedlings outdoors in a sheltered spot with indirect light for one to two hours daily
- Week 2: Increase to three to four hours; introduce some direct morning sun
- Week 3: Six to eight hours, including some afternoon sun; leave out overnight if frost risk has passed
- After two to three weeks, plants are ready to transplant
Transplanting Technique:
Tomatoes have the remarkable ability to form roots along their buried stems. Plant them deep, burying two thirds of the stem if the plant is leggy. This produces a stronger, better-anchored plant with a larger root system.
- Choose an overcast day or late afternoon for transplanting to reduce stress
- Dig a hole deep enough to bury two thirds of the stem
- Remove all leaves that will be below the soil surface
- Water immediately after planting; apply liquid fertilizer after two weeks
- Stake or cage at planting time to avoid disturbing roots later
Soil, Fertilizing, and Watering
Ideal Soil:
Tomatoes thrive in rich, well-draining soil with a pH of 6.0 to 6.8. Amend garden beds generously with compost at four to six inches worked in before planting. Container tomatoes need a premium potting mix in the largest pot you can accommodate, with a minimum of 15 gallons for indeterminate varieties.
Fertilizing Strategy:
Tomatoes are heavy feeders but need the right nutrients at the right time. Too much nitrogen early produces lush foliage but few fruit.
- At planting: slow-release balanced fertilizer worked into the soil
- During vegetative growth in the first four to six weeks: balanced NPK to support stem and leaf development
- Once flowers appear: switch to high-potassium, low-nitrogen fertilizer such as tomato feed
- Every two weeks through fruiting season: continue with tomato-specific liquid feed
Watering:
Tomatoes need consistent, deep watering. Irregular watering, alternating very wet and very dry periods, causes blossom end rot due to calcium uptake failure and fruit cracking. Water deeply two to three times per week rather than light daily watering. Mulch heavily around plants to retain moisture and stabilize soil temperature.
Supporting, Pruning, and Training
Support Systems:
- Tomato cages: easiest; good for determinate and small indeterminate varieties
- Stake and tie: single stake for each plant; tie with soft ties every eight to twelve inches
- Florida weave: efficient for row plantings; alternates stakes between plants
- Trellis or string systems: excellent for greenhouse and vertical growing
Pruning Suckers for Indeterminate Varieties:
Suckers are new shoots that emerge in the crotch between the main stem and a leaf stem. Left unpruned, they develop into full branches, creating an increasingly unmanageable, heavily foliaged plant. Pinching suckers when small, under two inches, maintains a manageable one to three stem structure and directs energy into fruit production. Do not prune suckers on determinate varieties as they flower on these lateral shoots.
Common Tomato Problems and Solutions
Blossom End Rot
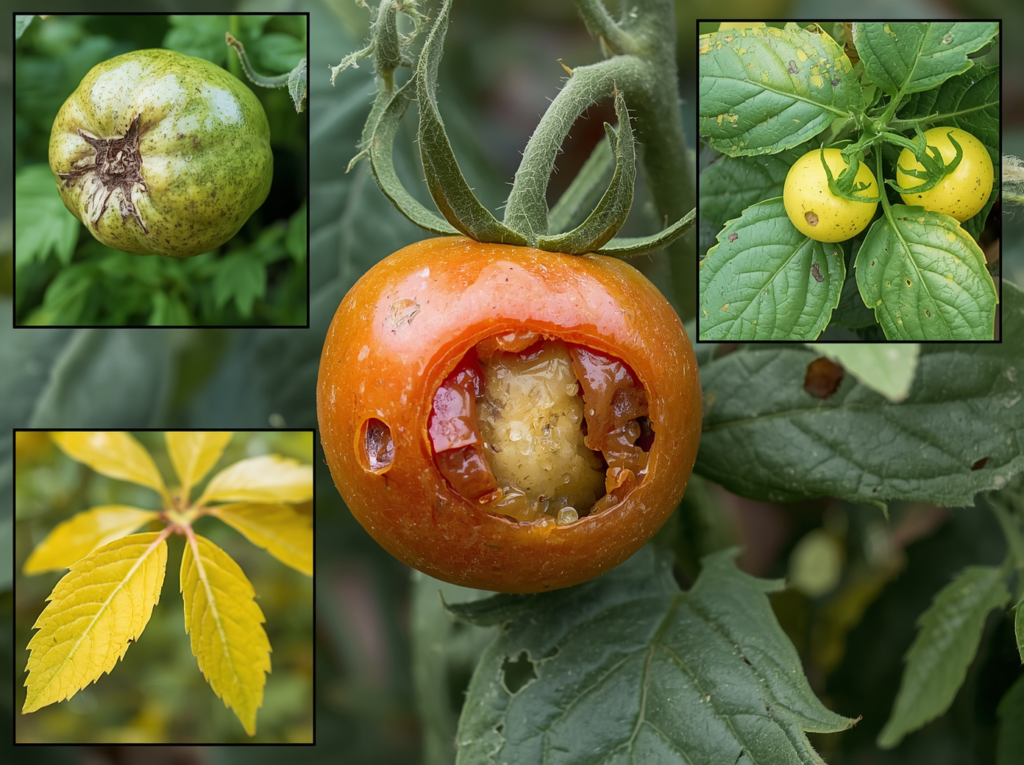
Dark, leathery rot at the base of the fruit is caused by calcium deficiency, usually a watering consistency issue rather than actual lack of calcium in soil. Solution: ensure consistent watering; mulch heavily; apply calcium spray if severe.
Early Blight
Brown spots with concentric rings like a target on lower leaves are caused by Alternaria fungus. Remove affected leaves; apply copper fungicide; improve air circulation by pruning; and avoid wetting foliage.
Fruit Cracking
Radial or concentric cracks in ripe fruit are caused by rapid water uptake after dry periods. Solution: consistent watering; harvest fruit before fully ripe in wet conditions; choose crack-resistant varieties.
Harvesting for Maximum Flavor
Tomatoes develop their peak flavor when allowed to ripen fully on the vine. A fully ripe tomato gives slightly to gentle pressure, has reached its full color, and separates from the vine with minimal force.
If frost threatens before tomatoes ripen, harvest green and ripen indoors at room temperature, not in the refrigerator. Cold temperature stops flavor development and makes the flesh mealy. A green tomato at 65 degrees Fahrenheit will ripen in one to three weeks.
The number one flavor tip: never refrigerate tomatoes. Store at room temperature and consume within days of harvest for the best possible flavor and texture.