
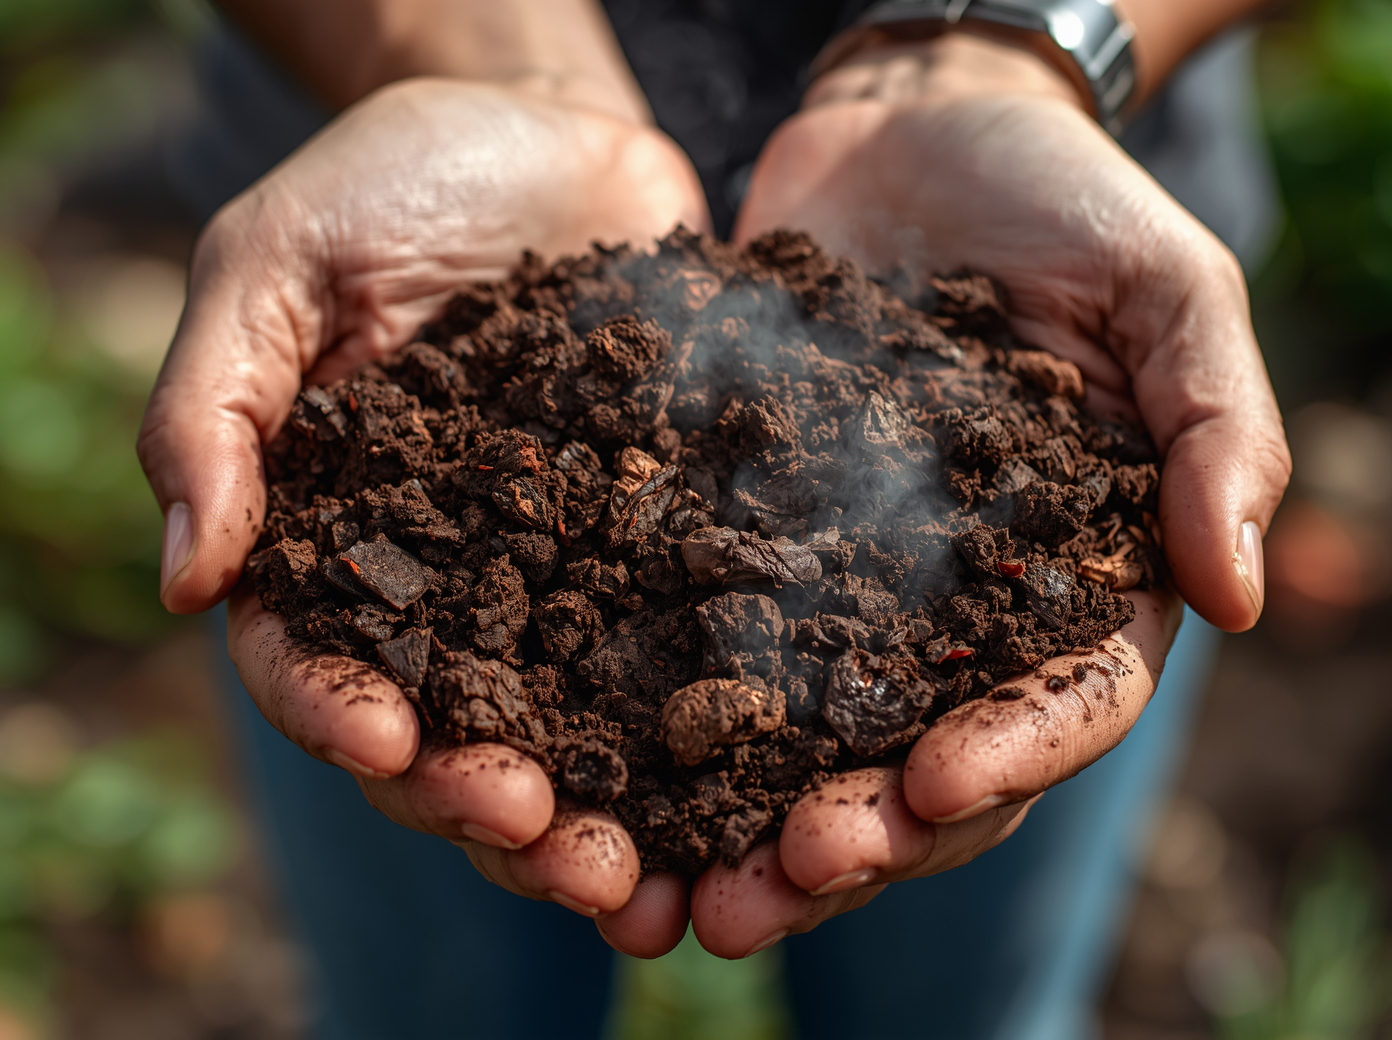
Compost is often called black gold by gardeners, and for good reason. This dark, crumbly material, created entirely from kitchen scraps and garden waste, is one of the finest soil amendments available. It improves soil structure in both clay soils by breaking up compaction and in sandy soils by improving water retention. It feeds plants with a balanced, slow-release supply of nutrients, introduces beneficial microorganisms, and suppresses plant diseases.
Best of all, it costs nothing to make and transforms waste into a resource. The average household produces enough organic material to make significant quantities of compost each year.
What Is Compost? The Science Simplified
Composting is a managed process of decomposition, accelerating the natural breakdown of organic matter by creating optimal conditions for the microorganisms including bacteria, fungi, and actinomycetes, as well as larger organisms like earthworms, beetles, and centipedes that do the actual work.
The key variables that determine composting speed and quality are the ratio of carbon to nitrogen known as the C:N ratio; moisture; oxygen; and particle size. Getting these right creates a hot compost pile that can produce finished compost in four to eight weeks.
Understanding Browns and Greens: The C:N Ratio
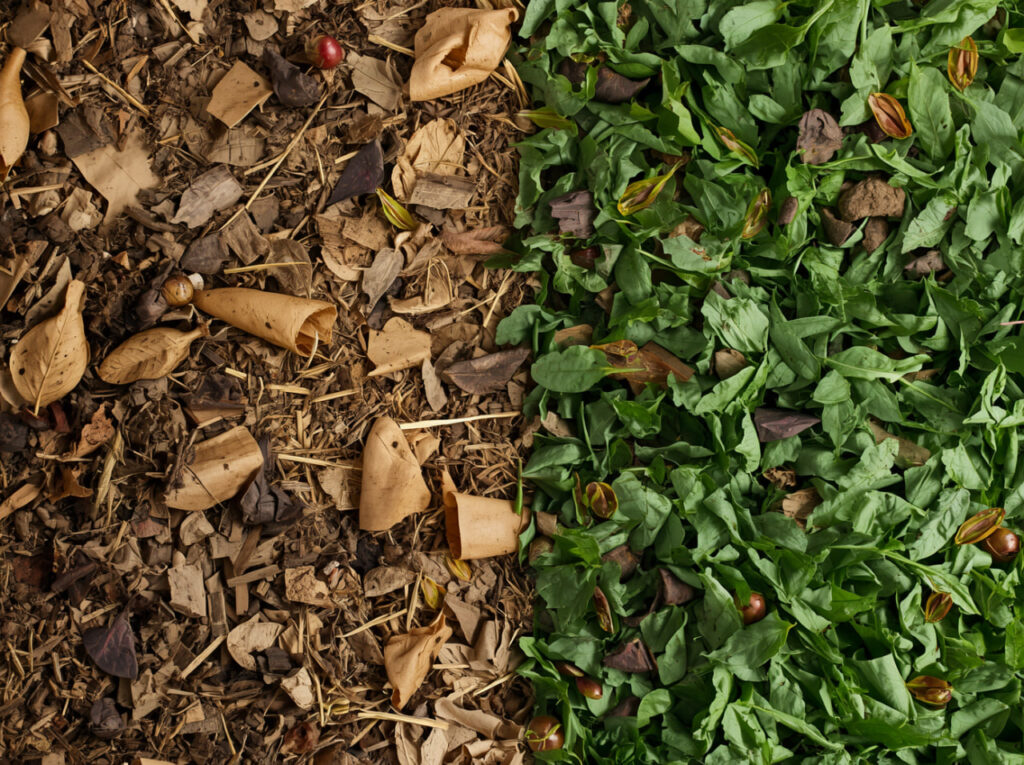
Greens (Nitrogen-Rich Materials):
Greens provide the nitrogen that feeds microbial activity. Without nitrogen, decomposition slows dramatically.
- Vegetable and fruit kitchen scraps (peels, cores, trimmings)
- Coffee grounds and filters
- Tea leaves and bags (remove staples)
- Fresh grass clippings
- Fresh plant trimmings and garden waste
- Eggshells (slow to break down but add calcium)
- Manure from herbivores (chickens, rabbits, horses, cows)
Browns (Carbon-Rich Materials):
Browns provide carbon, the energy source for microbes, and create air pockets that maintain aerobic conditions. Without adequate browns, compost becomes wet, slimy, and smelly.
- Cardboard (torn into pieces; remove tape and staples)
- Newspaper (non-glossy; shredded or torn)
- Dried autumn leaves
- Straw
- Wood chips and twigs
- Paper bags and napkins
The Golden Ratio:
Aim for approximately three parts browns to one part greens by volume. This produces a C:N ratio of roughly 25 to 30:1, which is optimal for fast, hot composting. In practice, add a layer of browns for each layer of greens.
What NOT to Compost
- Meat, fish, and bones: attract rodents and flies; create odors; very slow to decompose
- Dairy products (cheese, yogurt, butter): same issues as meat
- Cooked food with oils and seasonings: ferments rather than composts cleanly
- Diseased plant material: pathogens may survive cold composting and spread to garden
- Weed seeds: may survive and germinate in garden when compost is applied
- Glossy or coated paper (catalogs, magazines): does not break down; contains inks
- Pet waste from cats and dogs: may contain pathogens dangerous to humans
Method 1: Hot Composting (4-8 Weeks)
What Makes it Hot
A hot compost pile reaches internal temperatures of 130 to 160 degrees Fahrenheit, generated by the metabolic activity of billions of microorganisms breaking down organic matter. These temperatures kill weed seeds, pathogens, and fly larvae.
Requirements for Hot Composting:
- Minimum pile size: at least three feet by three feet by three feet; smaller piles do not retain enough heat
- Correct C:N ratio: three to one browns to greens
- Moisture: as damp as a wrung-out sponge; not soaking wet
- Oxygen: turn pile every three to seven days to introduce fresh air
The Process:
- Layer four inches of browns at the base
- Add two inches of greens on top
- Continue alternating layers, watering lightly if dry
- After three to five days, the center should be hot and you will feel steam when turning
- Turn the pile every three to seven days, moving outer material to the center
- After four to eight weeks, compost is finished when it is dark, crumbly, and earthy-smelling
Method 2: Cold Composting (6-12 Months)
Cold composting requires virtually no management. You simply add materials as they become available and let nature take its course. It takes much longer at six to twelve months or more but requires almost no effort. It is the ideal method for gardeners who produce a steady stream of kitchen and garden waste but do not need compost quickly.
- Add any compostable material as available, from kitchen scraps to garden clippings and cardboard
- Try to balance browns and greens, but perfection is not necessary
- Cover fresh kitchen scraps with a layer of browns to reduce odors and deter flies
- Occasional turning speeds the process but is not required
- Harvest finished compost from the bottom of the pile after six to twelve months
Method 3: Worm Composting (Vermicomposting)
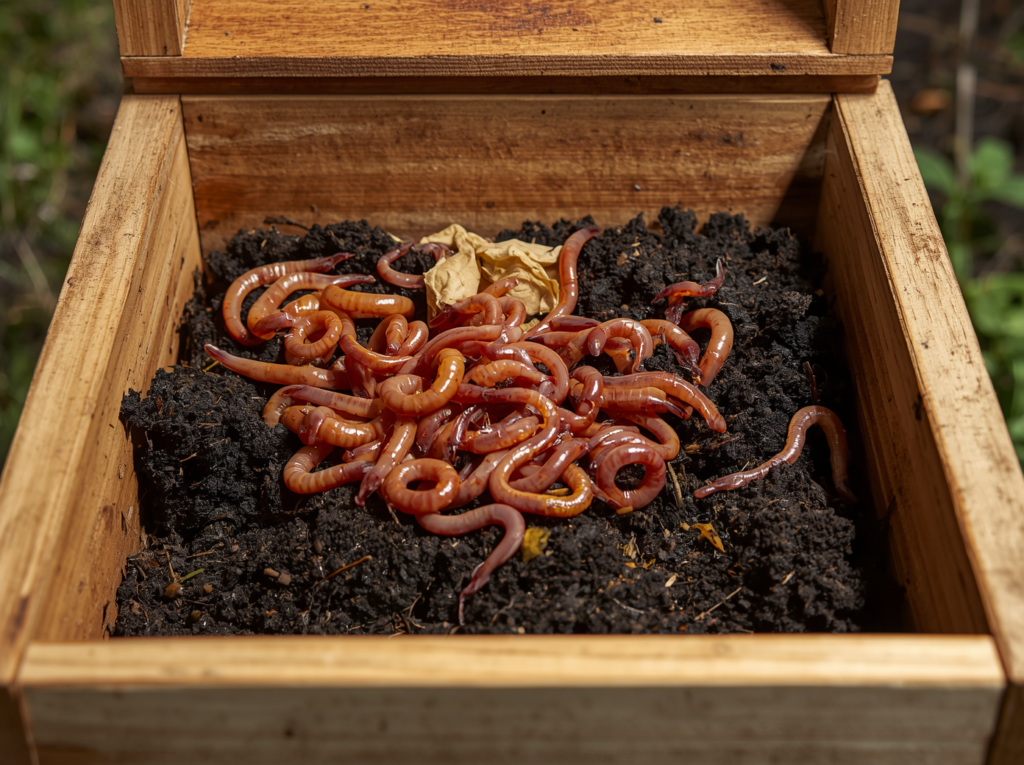
Vermicomposting uses red wigglers (Eisenia fetida), not common earthworms, to break down kitchen waste into incredibly rich worm castings. Worm castings are one of the most nutrient-dense soil amendments available, rich in plant-available nutrients and beneficial microorganisms.
- Compact: a worm bin works in apartments, garages, and even under kitchen sinks
- Odorless when managed correctly
- Produces worm castings AND worm tea (liquid drainage), both of which are excellent fertilizers
- Works year-round indoors regardless of outdoor temperature
Troubleshooting Your Compost
Problem: Bad Smell (Ammonia)
Cause: too many greens, not enough browns, and too wet. Fix: add a generous layer of browns such as cardboard or dry leaves; turn to introduce air; if very wet, add dry material and leave uncovered temporarily.
Problem: Pile Is Not Heating Up
Cause: too dry, too small, too carbon-heavy, or insufficient nitrogen. Fix: check moisture, which should feel like a damp sponge; add nitrogen-rich greens; water if dry; ensure minimum three by three by three foot pile size.
Problem: Pests (Rodents, Flies)
Cause: food scraps accessible at surface; meat or cooked food in pile. Fix: always bury fresh scraps under a layer of browns; use a rodent-proof bin with a secure lid and mesh base; never compost meat, fish, or dairy.
How to Use Finished Compost
How Do You Know It Is Ready?
Finished compost is dark brown to black, crumbly in texture like moist coffee grounds, and smells earthy and pleasant like a forest floor. You should not be able to identify the original materials. If you can still see pieces of vegetable peel or cardboard, it needs more time.
Application Rates and Methods:
- As a soil amendment: work two to four inches into garden beds before planting
- As mulch: apply one to two inches around plants to keep soil moist and suppress weeds
- Potting mix: replace up to 25 percent of potting mix volume with compost
- Lawn top-dressing: sieve finely and apply a thin quarter-inch layer over lawn in spring
- Compost tea: steep finished compost in water for 24 hours; use as liquid fertilizer