
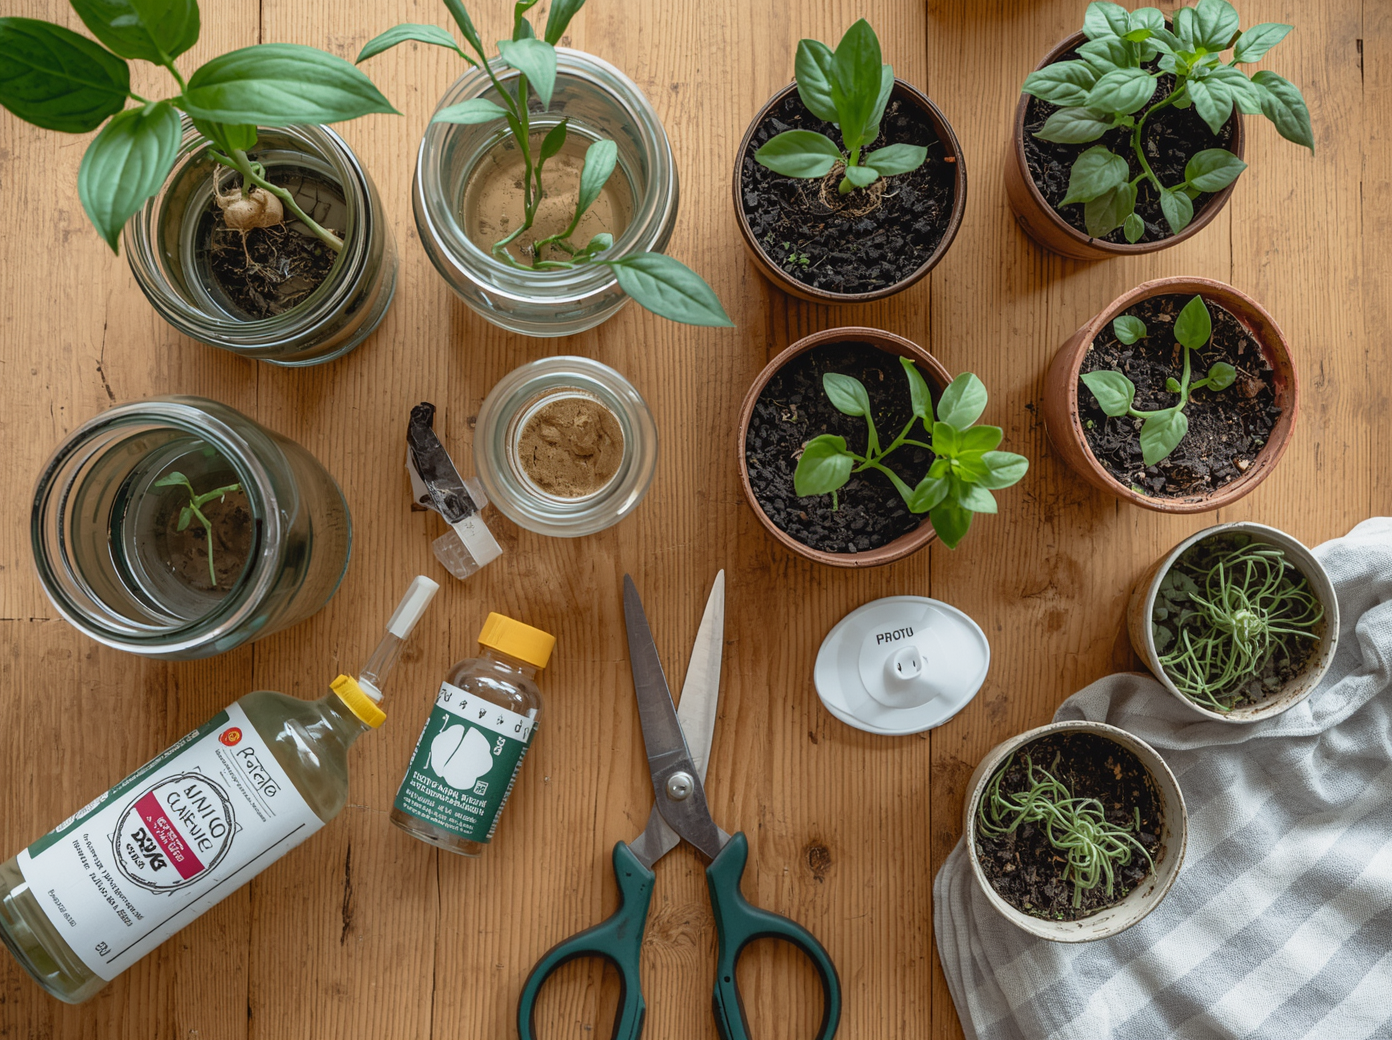
Plant propagation is the art of creating new plants from an existing parent plant. It’s one of the most satisfying skills in gardening — turning a single plant into dozens, filling your home with greenery for free, and sharing plants with friends. The process is also deeply educational, teaching you how plants grow, heal, and reproduce.
There are seven main propagation methods, each suited to different types of plants. Master these techniques and you’ll never need to buy the same plant twice.
Method 1: Stem Cuttings in Soil (Most Universal Method)
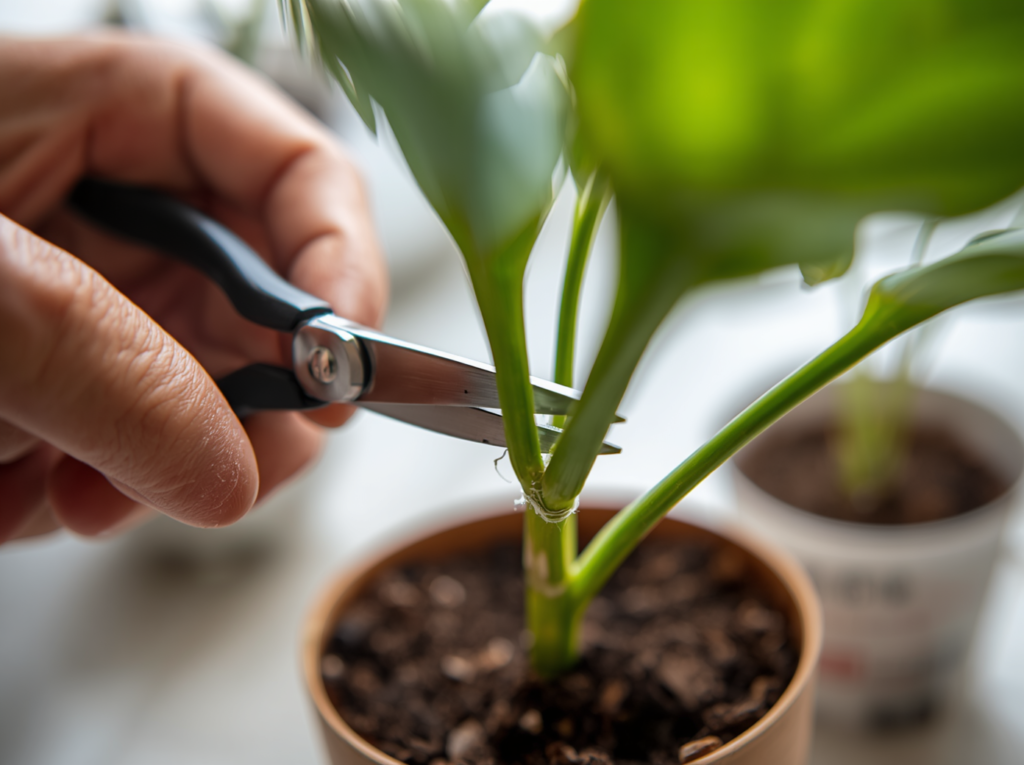
Stem cuttings work for the widest range of plants: pothos, philodendrons, begonias, coleus, herbs, roses, and hundreds more. The principle is simple: cut a section of stem that includes at least one node (the bump where leaves and roots emerge), remove lower leaves, and encourage the cut end to develop roots.
Step-by-Step Process:
- Step 1: Choose a healthy stem with at least 2–3 nodes and 3–4 leaves
- Step 2: Cut cleanly below a node with sterilized scissors or a blade
- Step 3: Remove all leaves from the bottom 2/3 of the cutting
- Step 4: Let the cut end dry (callus) for 1 hour
- Step 5: Optional — dip in rooting hormone powder to speed up root development
- Step 6: Push into moist, well-draining propagation mix (perlite + peat)
- Step 7: Cover with a clear plastic bag to maintain humidity
- Step 8: Place in bright indirect light; roots form in 2–4 weeks
Best Plants for This Method:
- Pothos, philodendron, begonia, coleus, herbs (basil, mint, rosemary), fuchsia
Method 2: Water Propagation (Most Visually Satisfying)
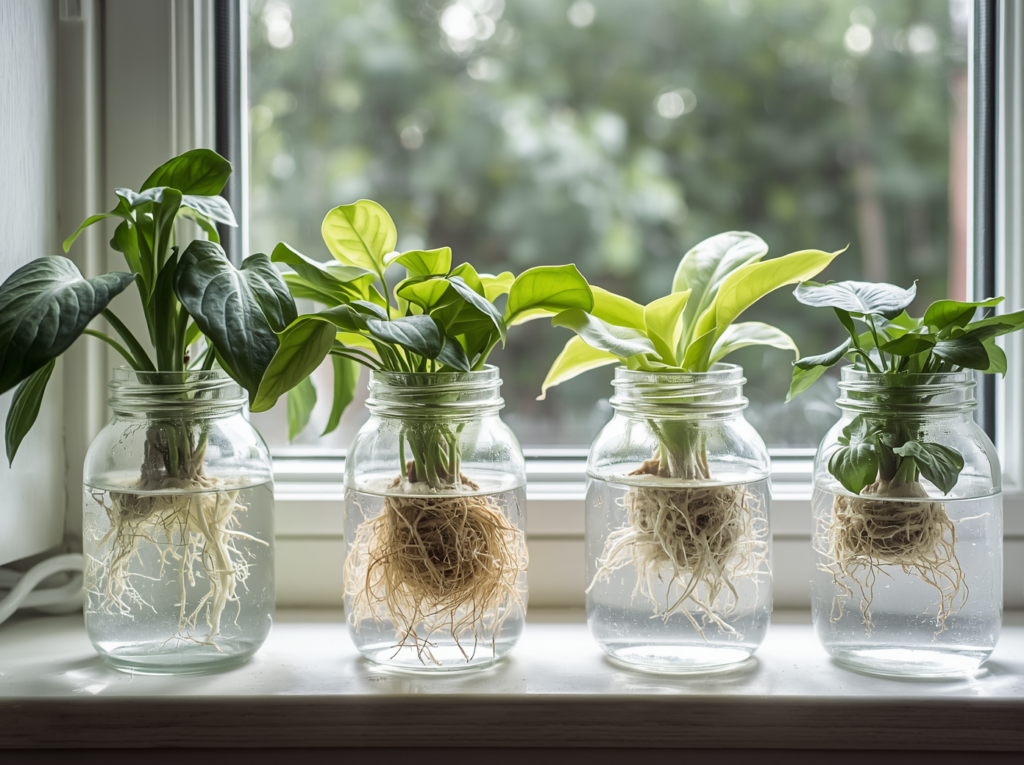
Water propagation is the Instagram-famous method — and for good reason. Watching white roots emerge from a cutting suspended in a glass jar is genuinely mesmerizing. It works best for softer-stemmed plants and allows you to monitor root development in real time.
Step-by-Step Process:
- Step 1: Take a stem cutting with at least one node (same as soil method)
- Step 2: Remove all leaves that would sit below the waterline
- Step 3: Place in a clean glass or jar; fill with room-temperature water
- Step 4: Position so the node is submerged but leaves are above water
- Step 5: Change water every 3–5 days to prevent bacterial growth
- Step 6: Place in bright indirect light — avoid direct sun (heats water)
- Step 7: Once roots reach 1–2 inches, transition to soil
Transition tip: Move water-rooted cuttings to soil gradually. Start by mixing potting soil with extra perlite, keep the soil moist (more than usual), and reduce watering slowly over 3–4 weeks as the plant adapts to soil.
Best Plants for Water Propagation:
- Pothos, philodendron, tradescantia, begonia, impatiens, mint, basil, coleus
Method 3: Leaf Cuttings (For Succulents and Specific Houseplants)
Some plants can regenerate an entire new plant from a single leaf. This works through meristematic cells at the base of the leaf — cells capable of differentiating into roots, stems, and new leaves. The process is slower than stem cutting propagation but equally effective.
Best Plants for Leaf Propagation:
- Succulents (echeveria, sedum, graptopetalum) — twist leaf off cleanly
- African violet (Saintpaulia) — cut leaf with 1-inch petiole; insert in soil
- Snake plant — cut a section of leaf and insert upright in soil
- Begonias — lay flat on soil and make small cuts across the veins
Method 4: Division (For Clumping and Root-Bound Plants)
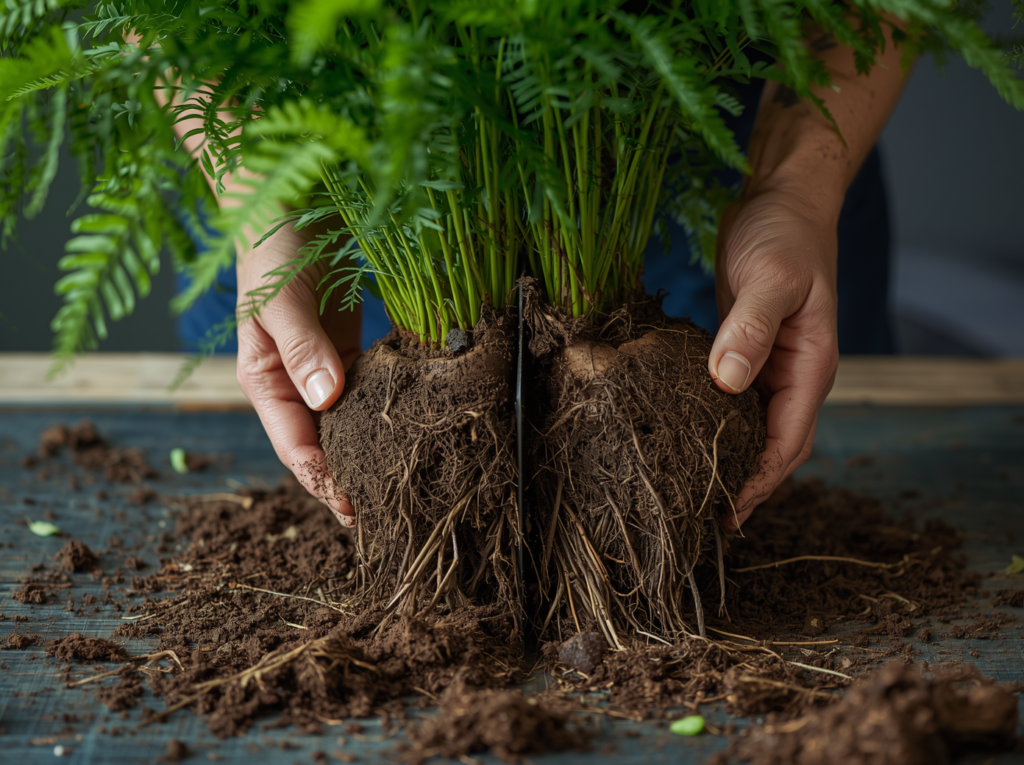
Division is the simplest propagation method for clumping plants. When a plant becomes pot-bound or naturally grows in multiple crowns, you can separate it into two or more individual plants. Each section must include both roots and foliage to survive.
Step-by-Step Process:
- Step 1: Remove the plant from its pot and gently loosen the root ball
- Step 2: Identify natural separation points where roots and shoots divide
- Step 3: Use your hands (or a clean knife for tight clumps) to separate
- Step 4: Repot each division in fresh, appropriate potting mix
- Step 5: Water thoroughly and place in indirect light for 1–2 weeks to recover
Best Plants for Division:
- Peace lily, Boston fern, hostas, ornamental grasses, snake plant, ZZ plant
Method 5: Air Layering (For Woody or Hard-to-Root Plants)
Air layering is a technique for propagating plants that are difficult to root from cuttings — woody shrubs, rubber plants, monsteras, and fiddle-leaf figs. You essentially encourage roots to form on the stem while it’s still attached to the parent plant, then separate it once rooting is established.
Step-by-Step Process:
- Step 1: Choose a healthy branch and remove leaves from a 3-inch section
- Step 2: Make two parallel cuts 1.5 inches apart through the bark, or make a diagonal cut (but don’t cut all the way through)
- Step 3: Dust the exposed section with rooting hormone
- Step 4: Wrap generously with moist sphagnum moss
- Step 5: Wrap the moss tightly with clear plastic wrap; seal both ends
- Step 6: Wait 4–8 weeks until roots are visible through the plastic
- Step 7: Cut the stem below the root mass and pot the new plant
Method 6: Offsets and Runners (The Easiest Method)
Many plants naturally produce offsets (also called ‘pups’ or ‘babies’) — perfect miniature clones that grow at the base of or alongside the mother plant. Spider plants produce runners with plantlets at the tips. Strawberries, aloe vera, and bromeliads all produce offsets prolifically.
How to Separate Offsets:
- Wait until the offset is at least 1/3 the size of the mother plant
- Use a clean, sharp knife to cut the connecting stem or runner
- For pups: gently loosen the soil around the offset and pull free with roots intact
- Pot in appropriate mix; treat as a new plant
Method 7: Growing from Seed (The Most Rewarding Long Game)
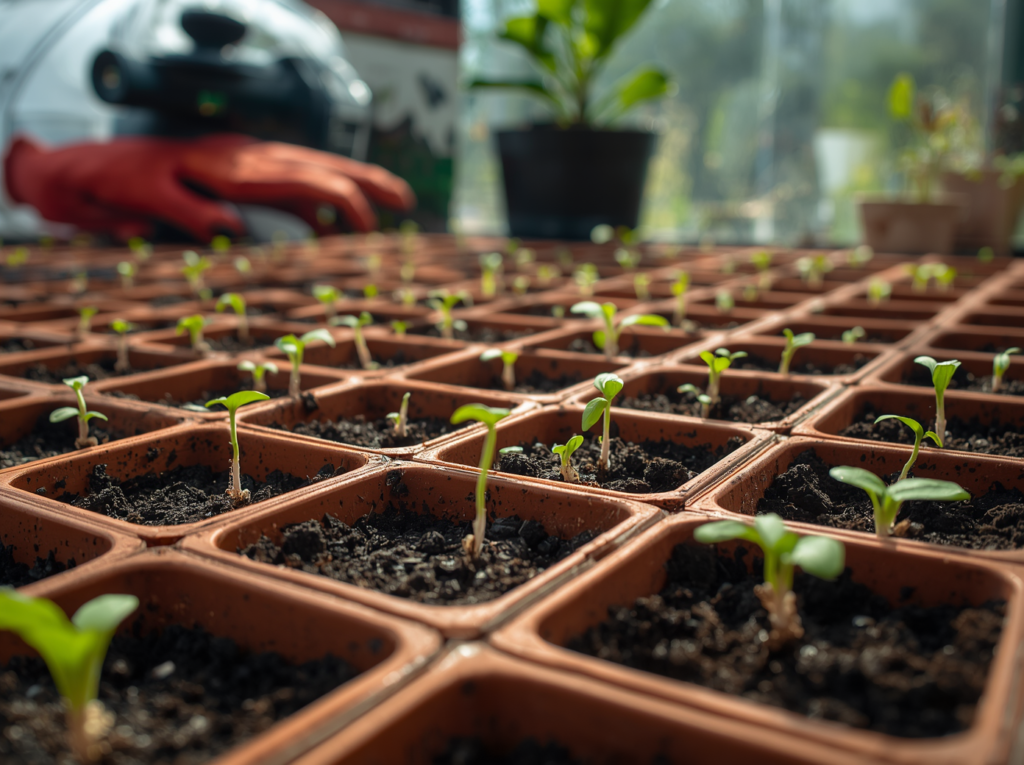
Growing from seed gives you access to the widest variety of plants at the lowest cost. It requires more patience than other methods — weeks or months to reach transplant size — but the satisfaction of watching a plant grow from a tiny seed is unparalleled.
Key Success Factors for Seed Starting:
- Use fresh, high-quality seed starting mix (not regular potting soil)
- Maintain consistent moisture — seeds need moisture to germinate but rot if waterlogged
- Provide warmth (65–75°F / 18–24°C) — a seedling heat mat accelerates germination
- Supply adequate light immediately after germination to prevent etiolation
- Thin seedlings early — crowded seedlings compete for resources and weaken
Propagation Success Tips for Every Method
Use Sterile Tools
Always sterilize cutting tools with rubbing alcohol between plants. Disease transfer via dirty tools is one of the most common causes of propagation failure.
Timing Matters
Spring and early summer are the best times for most propagation methods — plants are actively growing and have the energy to develop new roots quickly. Avoid propagating in winter when most plants are dormant.
Rooting Hormone Helps (But Isn’t Always Necessary)
Indole-3-butyric acid (IBA) — the active compound in rooting hormone products — genuinely accelerates root formation in most plants. For easy-rooting species like pothos, it’s optional. For harder-to-root plants like roses or woody shrubs, it significantly improves success rates.
Plant propagation transforms you from a passive plant owner into an active participant in the plant life cycle. Each successful cutting or division is a small victory — and over time, those victories add up to a thriving collection, a generous plant-gifting practice, and a much deeper understanding of how plants live and grow.