
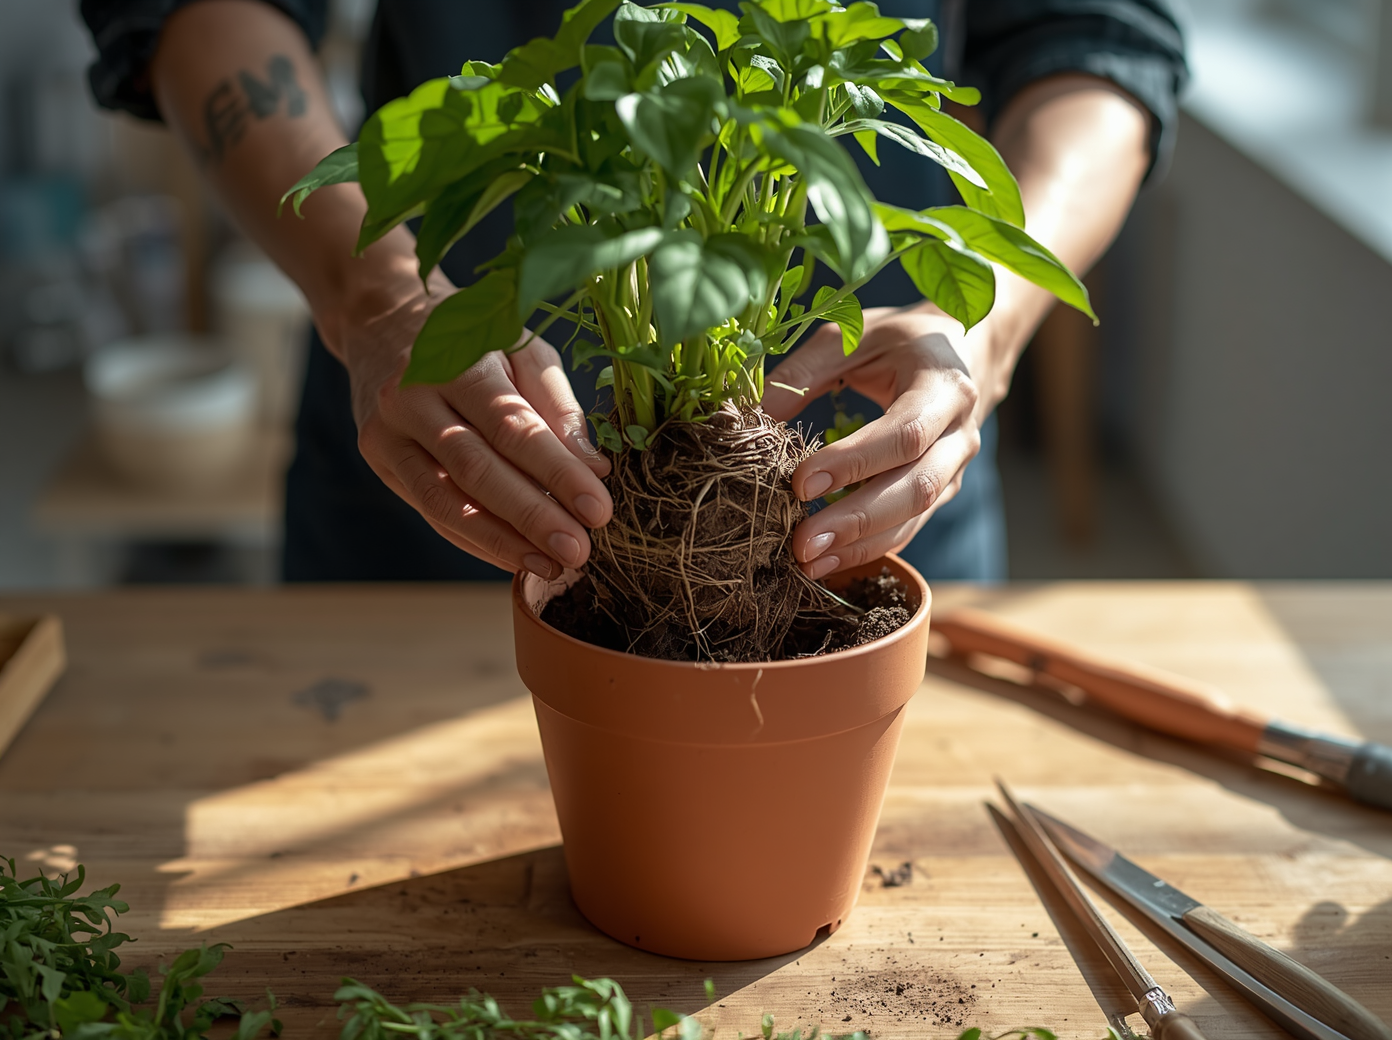
Repotting is one of the most important and most intimidating skills in plant care. Many beginners either avoid it entirely, leading to stunted root-bound plants, or do it at the wrong time and in the wrong way, causing unnecessary stress. The truth is, repotting done correctly is straightforward and immensely beneficial.
This guide walks you through every step: how to know when repotting is needed, how to choose the right pot and soil, and exactly how to perform the repot without damaging roots or causing transplant shock.
Why Repotting Matters
Plants grow. As roots expand to fill a container, they eventually run out of space, circling the bottom of the pot, emerging from drainage holes, or creating such a dense root ball that water runs straight through without being absorbed. This condition, called being root-bound or pot-bound, stresses the plant and limits growth.
Repotting provides fresh soil (old potting mix depletes nutrients over 12 to 18 months and degrades in structure), more root space, and renewed growing potential. Most houseplants benefit from repotting every one to two years.
Signs Your Plant Needs Repotting
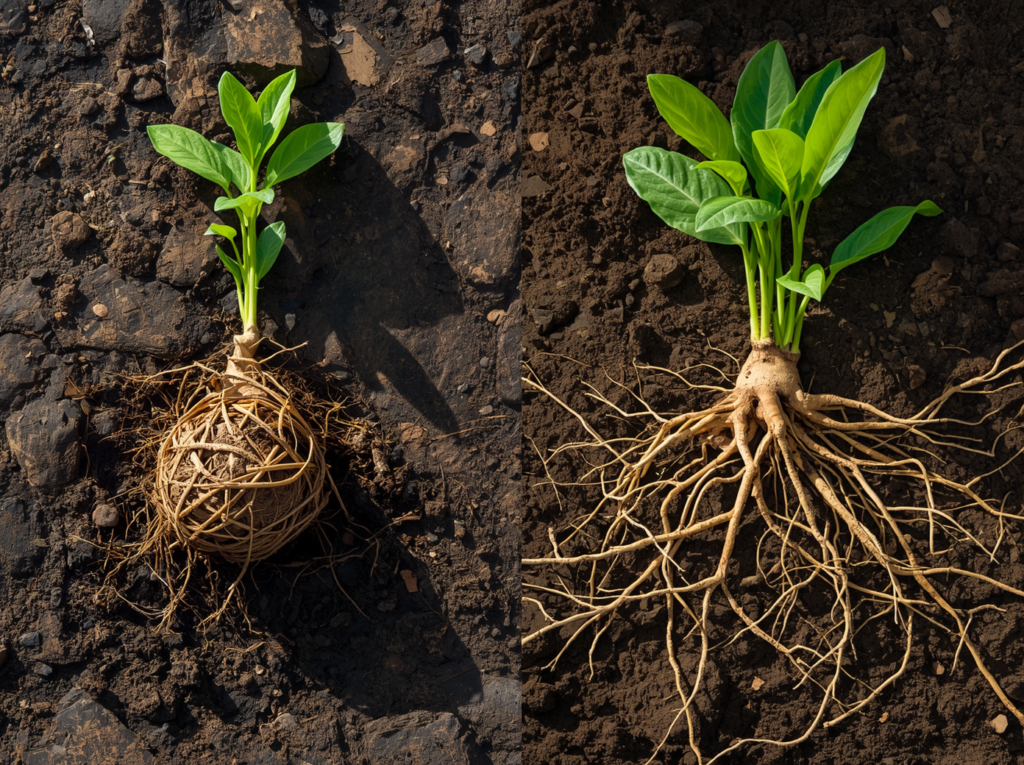
- Roots emerging from drainage holes at the bottom of the pot
- Roots visibly circling or pushing out of the top of the soil
- Water runs straight through the pot without being absorbed
- The plant dries out unusually quickly, within a day or two of watering
- Plant is visibly top-heavy and tips over frequently
- Growth has stalled completely during the active growing season
- Salt and mineral crust buildup on the soil surface or pot rim
- The plant has been in the same pot for two or more years
Not all of these signs need to be present. Even one or two, combined with the two-year time frame, is sufficient reason to repot.
When to Repot: Timing Is Everything
Best Time: Early Spring
Spring is universally the best time to repot. As days lengthen and temperatures rise, plants exit dormancy and enter their most vigorous growth phase. The increased metabolic activity means roots recover faster from disturbance and new root growth begins quickly after repotting.
Acceptable Times:
- Early summer — still good, though the plant will experience more stress in heat
- After purchase — newly bought plants often need immediate repotting from nursery pots
- After root rot treatment — must repot into fresh soil regardless of season
Avoid Repotting:
- Late fall and winter — plants are dormant and roots recover slowly
- During or immediately after a pest or disease treatment — double stress can be fatal
- When the plant is flowering — repotting redirects energy away from blooms
Choosing the Right New Pot
Size: Go Up One Size Only
The most critical rule: move up only one pot size, typically one to two inches larger in diameter than the current pot. A pot that is too large holds excess soil that stays wet long after watering, creating ideal conditions for root rot. The roots need to fill the new pot reasonably quickly.
Material Considerations:
- Terracotta: breathable walls wick moisture away; ideal for drought-tolerant plants and those prone to overwatering
- Glazed ceramic: retains moisture longer; better for moisture-loving tropicals
- Plastic: lightweight; retains moisture; good for moisture-loving plants
- Self-watering pots: excellent for plants needing consistent moisture like ferns and peace lilies
Always Required: Drainage Holes
No exceptions. A pot without drainage is a recipe for root rot. If you love a decorative pot without holes, use it as a cachepot and place your plant in a nursery pot inside it, removing after watering to drain.
Choosing the Right Potting Mix
Use fresh potting mix appropriate to your plant type. Never reuse old potting soil or use garden soil. Old soil is depleted, compacted, and may harbor pathogens.
- General houseplants: quality multi-purpose potting mix with added perlite at 20 to 30 percent
- Succulents and cacti: cactus or succulent mix, or standard mix with 50 percent coarse sand or grit
- Orchids: specialist orchid bark mix; standard potting mix suffocates orchid roots
- Monstera and aroids: chunky mix combining potting soil, perlite, and orchid bark
Step-by-Step Repotting Process
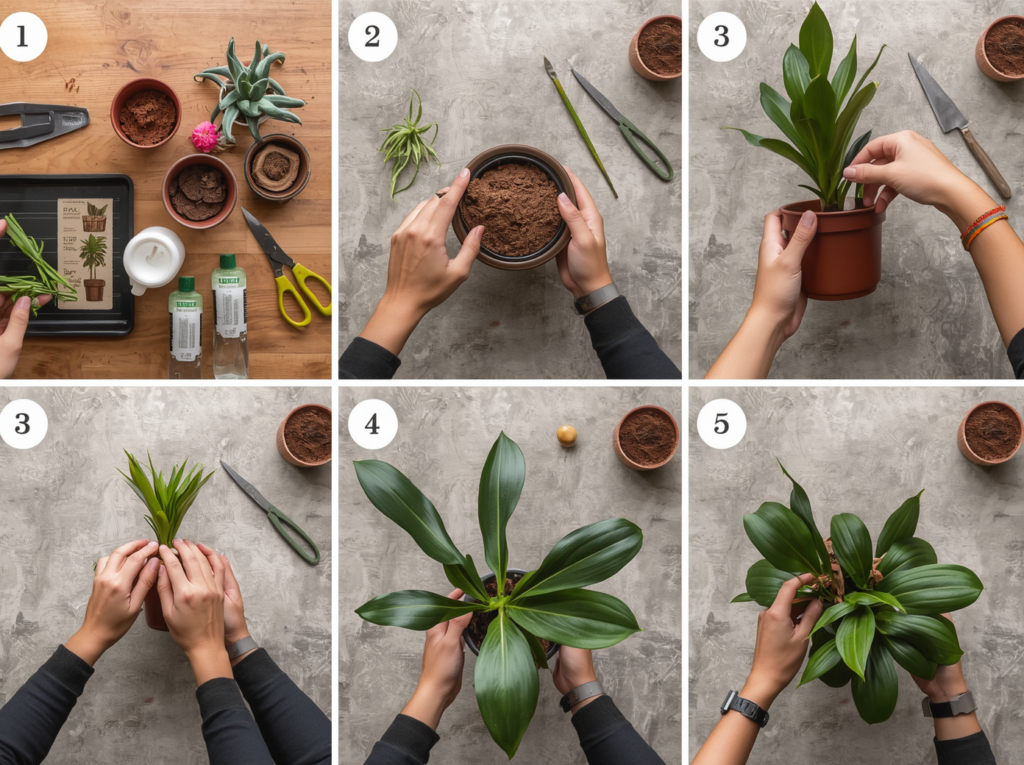
What You Will Need:
- New pot, one size up, with drainage holes
- Fresh potting mix appropriate to the plant
- Sterilized scissors or pruning shears
- Watering can
- Old newspaper or tray to work on
Step 1: Water the Plant First
Water your plant 24 to 48 hours before repotting. Moist soil holds together better than dry soil during the process, making it easier to remove the plant without disturbing roots.
Step 2: Prepare the New Pot
Add a layer of fresh potting mix to the bottom of the new pot, enough so that when the plant is placed inside, the top of the root ball sits about one inch below the pot rim to allow space for watering.
Step 3: Remove the Plant
Tilt the current pot sideways. Place your hand over the soil surface with the stem between your fingers to support the plant. Gently squeeze the sides of plastic pots to loosen the root ball, or run a knife around the inside edge of rigid pots. Ease the plant out with a gentle pulling and twisting motion. Never yank the stem.
Step 4: Inspect and Prune the Roots
Examine the root ball carefully. Healthy roots are white or tan and firm. Brown, black, or mushy roots are diseased and should be trimmed with sterilized scissors. If the root ball is severely circling, gently loosen the outer roots with your fingers or make three to four vertical cuts around the outside of the root ball.
Step 5: Place in the New Pot
Center the plant in the new pot at the appropriate height. Fill in around the sides with fresh potting mix, firming gently with your fingers to remove large air pockets. Do not compact the soil. Leave the top inch of the pot free.
Step 6: Water Thoroughly
Water slowly and evenly until water flows from the drainage holes. This settles the soil around the roots and ensures good initial moisture. Allow to drain completely.
Step 7: Aftercare
Place the newly repotted plant in bright indirect light. Avoid harsh direct sun for two to four weeks while roots recover. Do not fertilize for four to six weeks, as fresh potting mix already contains nutrients and fertilizing stressed roots can cause chemical burn.
What to Expect After Repotting
Some wilting or leaf droop in the first one to three days after repotting is completely normal. It is transplant shock as the root system adjusts. Keep the plant in moderate indirect light, maintain adequate moisture, and avoid fertilizing. Most plants recover fully within one to two weeks and then show noticeably improved vigor.
Special Cases: When NOT to Go Up a Size
Orchids After Blooming
Orchids benefit from being slightly root-bound. The same pot size or only marginally larger is appropriate. The key reason to repot orchids is to replace degraded bark medium, not to give more space.
Cacti and Succulents
These plants actively prefer being somewhat root-bound. Repot only when the plant has clearly outgrown its container, and move up only minimally.
Restricting Growth Intentionally
Some plants like ficus trees can be kept in the same pot to restrict size. In this case, remove the plant, trim the root ball by one third, and repot back into the same clean pot with fresh soil.